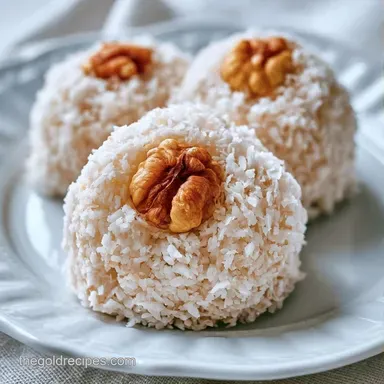
Coconut Balls with Condensed Milk
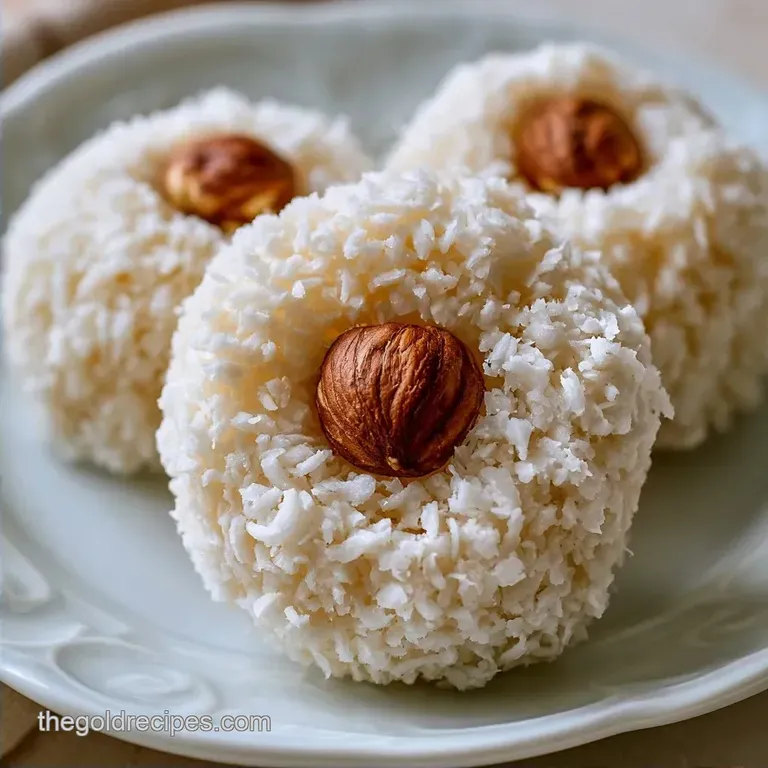
- Time: 10 minutes of prep plus 30 minutes in the fridge
- Sensory Appeal: A rich, creamy core finished with a snowy, shredded coat
- Perfect for: Last-minute party spreads or midnight snacks
Toasted coconut always brings back memories of those opulent gold wrapped truffles, though those often have a waxy taste. I spent some time figuring out why DIY versions frequently become a tacky sludge that sticks to everything.
As it happens, the secret isn't the ingredients themselves, but rather the temperature of the fats.
During my first attempt, I ignored the refrigeration step. I ended up with a few disappointing, flat pucks that wouldn't form a ball. Things clicked once I began treating the mix as a dough that required stabilization.
Making these Coconut Balls is essentially a bit of kitchen science. The sugars in the condensed milk act as a binder for the coconut shreds, resulting in a thick, fudgy center that plays against the dry, flaky exterior.
Why Most Recipes Fail
The Hydration Window: If you roll the dough immediately, the coconut hasn't absorbed the moisture from the milk. This makes the mixture tacky and hard to shape.
Fat Stabilization: Sweetened condensed milk contains fats that soften at room temperature. Chilling them for 30 minutes firms up the structure so the balls don't flatten under their own weight.
Fiber Choice: Using long strand coconut creates gaps in the dough. Finely shredded coconut creates a tighter molecular bind, which is why the texture feels more like a truffle.
| Method | Time | Texture | Best For |
|---|---|---|---|
| Fresh Mix | 40 mins | Creamy & Soft | Fresh snacking |
| store-bought | 0 mins | Waxy & Dense | Emergency hosting |
Your Essential Ingredient List
Sweetened condensed milk is the star of this show. Per USDA FoodData, its concentration of sugar and fat allows it to function as an effective binder. This prevents the need to prepare a cooked custard, maintaining the quick nature of the treat.
| Ingredient | What It Does | Best Swap |
|---|---|---|
| Shredded Coconut | Creates the structure | Almond flour (will be denser) |
| Condensed Milk | Sweetens and binds | Coconut cream + maple syrup |
| Salt | Offsets the sugar | None (crucial for flavor) |
| Hazelnuts/Almonds | Adds a crunchy center | Dried cranberries |
Ingredients
- 2 cups (190g) finely shredded unsweetened coconutWhy this? Unsweetened coconut keeps the treat from being overly sweet.
- 1/2 cup (150g) sweetened condensed milkWhy this? It is the most dependable binder for no-bake doughs.
- 1/4 tsp (1g) saltWhy this? Offsets the richness of the coconut.
- 16 whole blanched hazelnuts or almondsWhy this? Adds a necessary contrast in texture.
Recipe Specs
This is a high fat, low effort project. Since there is no heat involved, we are focusing entirely on the physical state of the ingredients.
- Prep time: 10 minutes
- Cook time: 0 minutes
- Total time: 40 minutes
- Yield: 16 balls
Equipment Needed
A few basic tools will make this process easier. You'll definitely need a medium mixing bowl. I recommend a silicone spatula since condensed milk is very sticky and tends to cling to everything. To keep the finished pieces from sticking to the counter, use a parchment lined baking sheet.
Bringing It Together
Phase 1: The Binding Process
Combine 1.5 cups (140g) of shredded coconut, the sweetened condensed milk, and salt in your bowl. Stir until the coconut is fully saturated until it forms a thick, tacky paste.
Phase 2: The Stabilization Chill
Cover the bowl with plastic wrap. Refrigerate for 30 minutes. This is the non negotiable part that prevents the dough from sticking to your palms.
Phase 3: The Precision Roll
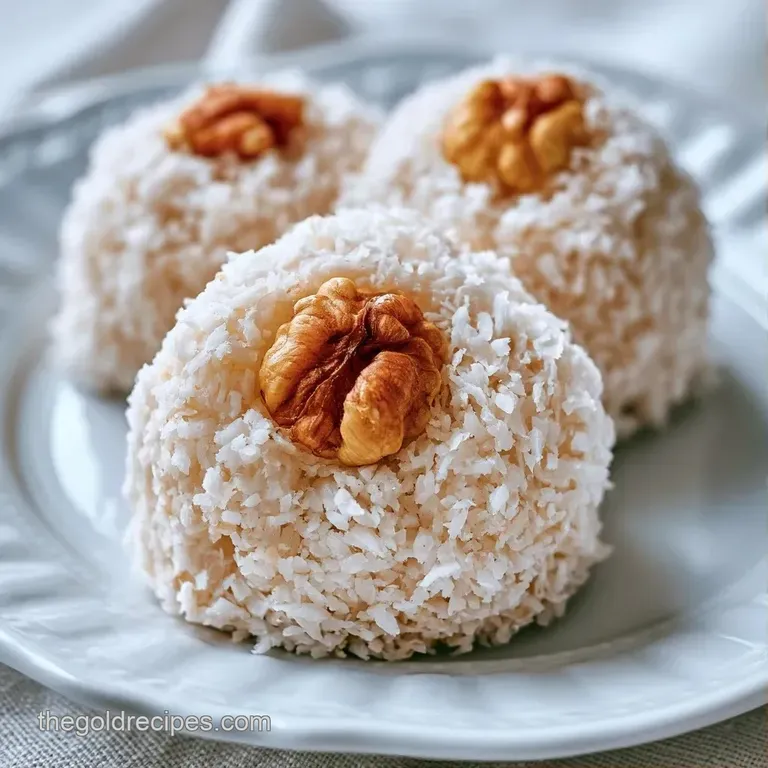
Scoop 1 tablespoon of the chilled mixture. Press one hazelnut or almond into the center. Roll between your palms using quick, circular motions until you have a smooth sphere.
Phase 4: The Final Coat
Roll each ball in the remaining 1/2 cup (50g) of shredded coconut. Ensure they are completely coated to prevent them from merging on the tray. Place on your parchment paper.
What Can Go Wrong
Runny Mixture Fix
If the dough feels too wet, it's usually because the coconut brand varies in absorbency. You can fix this by adding more coconut in 1 tablespoon increments.
Flattening Spheres
This happens when the dough is too warm. If your balls are losing their shape, pop the whole tray back into the fridge for 15 minutes.
Grainy Texture
Graininess usually comes from using coarse cut coconut. For a smoother result, you can pulse the shredded coconut in a blender for 5 seconds before mixing.
| Problem | Fix |
|---|---|
| Too sticky | Chill for another 15 mins |
| Too dry/crumbly | Add 1 tsp condensed milk |
| Nut popping out | Squeeze dough tighter before rolling |
Keeping It Fresh
Store these in a sealed container in the fridge. They stay fresh for about 5 days. If you want to keep them longer, they freeze surprisingly well. Place them on a tray first to freeze solid, then move them to a bag. This stops them from clumping together.
To avoid waste, if you have leftover coconut coating, toss it into your morning oatmeal or a smoothie. If you have a bit of the paste left in the bowl, just roll it into a "chef's snack" ball and eat it immediately.
What to Serve This With
These are very rich, so they pair well with something acidic or bitter. A strong espresso or a tart raspberry coulis cuts through the fat. If you're making a dessert platter, these go great alongside my coconut cream cake for a theme night.
Variations & Substitutions
This 3-ingredient coconut ball recipe is easy to adapt for various dietary needs. For a vegan option, use coconut condensed milk, though adding one more tablespoon of shredded coconut may be necessary to help the mixture set. To add a chocolate touch, dip your finished balls into melted dark chocolate.
If you enjoy these, they offer a fresher take on my condensed milk treats. For a savory dish using a similar base, try this coconut shrimp curry.
| Goal | What to change |
|---|---|
| Firmer bite | Add 2 tbsp shredded coconut |
| Sweeter taste | Use 1/4 cup more milk |
| Less sugary | Add extra pinch of salt |
Kitchen Myths It is often suggested that toasting the coconut first enhances the flavor. While this does add a nutty quality, it also makes the coconut more hydrophobic, which prevents it from binding properly with the milk. Use raw shredded coconut for the best results.
Another misconception is the idea that honey can be substituted for condensed milk on a 1:1 basis. Due to the difference in water content, you'll likely end up with a soup rather than a dough.
Recipe FAQs
How to make easy coconut balls?
Combine shredded coconut, sweetened condensed milk, and salt, then chill before rolling.
Tip: use a small cookie scoop for consistent sizing.
What are the three main ingredients used here?
This recipe uses shredded unsweetened coconut, sweetened condensed milk, and salt.
Tip: ensure the coconut is finely shredded for a smoother texture.
Is it true these treats require oven baking?
Surprisingly, no. These are no-bake sweets that only require chilling to set.
Tip: let them firm up completely before coating in extra coconut.
Could coconut condensed milk be used instead?
Yes, this works well for a vegan version of the recipe.
Tip: add an extra tablespoon of shredded coconut to help the balls set firmly.
Why does the dough feel too sticky?
The mixture likely hasn't chilled long enough to stabilize the fats.
Tip: add a tablespoon more of coconut if the humidity is very high.
Where should I keep these for freshness?
Store them in a chilled container to maintain their shape.
Tip: serve these as a light dessert alongside some mini cakes for a tropical spread.
Which method creates the smoothest shape?
Roll the chilled dough quickly between your palms using light pressure.
Tip: work quickly so the heat from your hands doesn't melt the fats.
Do I really need to refrigerate the mixture first?
Actually, no, but they will be much harder to roll without the chill.
Tip: use a cold bowl to speed up the cooling process.
Three Ingredient Coconut Balls