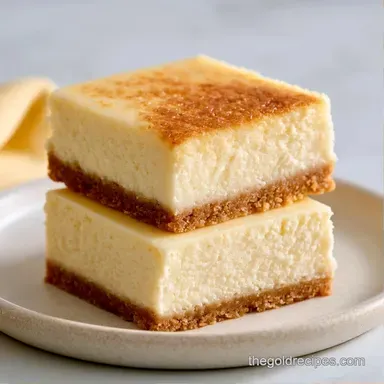
Lemon Cheesecake Bars with Shortbread Crust
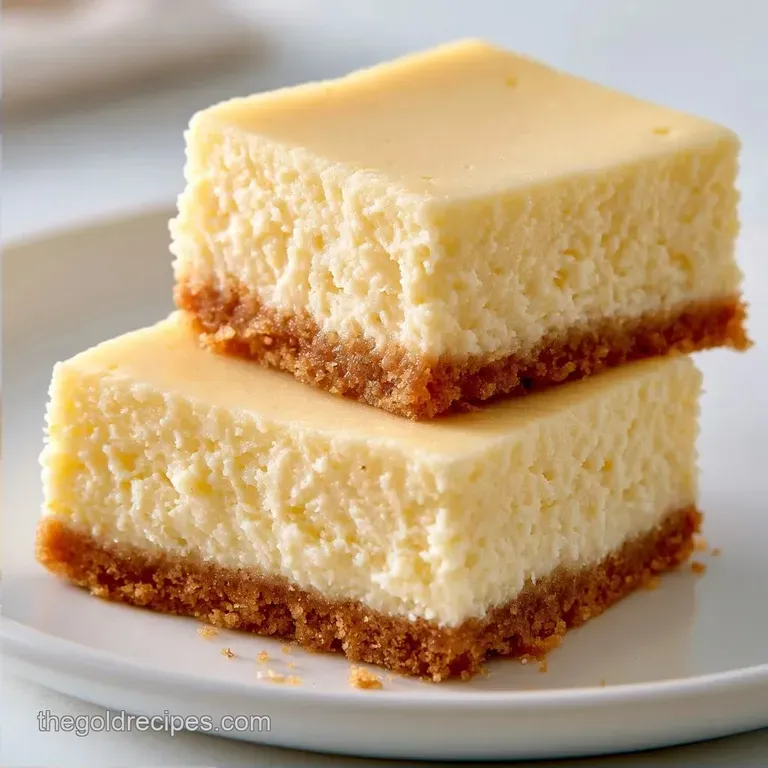
- Time: 20 min active + 35 min cook + 4 hr chilling
- Flavor/Texture Hook: Tangy lemon curd on a shattering shortbread base
- Perfect for: Spring brunch or a high impact dessert for beginners
- Quick Specs for Lemon Cheesecake Bars
- Shopping List Breakdown
- Essential Gear for the Job
- Step-by-Step Instructions
- Common Mistakes & Troubleshooting
- Variations & Substitutions
- Decision Shortcut for Customizing
- Make-Ahead and Leftover Tips
- Serving Suggestions
- What Nobody Tells You
- Recipe FAQs
- 📝 Recipe Card
The smell of fresh lemon zest hitting softened butter is enough to make anyone hungry. But if you've tried making these before, you know the struggle. You end up with a crust that's more like a wet sponge than a biscuit, or a filling that has the rubbery texture of a pencil eraser.
It happens when the moisture from the lemon juice seeps into the dough or the eggs are beaten too hard.
I spent a lot of time decoding why some bars stay crisp while others collapse. The fix isn't a fancy tool; it's just about timing and temperature. These Lemon Cheesecake Bars rely on a pre baked seal on the crust and room temperature fats to create a stable emulsion.
You can expect a dessert that hits three different notes: the salty crunch of shortbread, the rich density of cheesecake, and the bright, glossy finish of a cooked lemon glaze. It's a a high contrast treat that feels professional but actually uses basic pantry staples.
Quick Specs for Lemon Cheesecake Bars
Here are the specifics for this bake. This recipe is tailored for a standard 9x13 inch pan. If you use a smaller size, your layers will be thicker, meaning you'll need to increase the cheesecake bake time by about 5-8 minutes.
The overall process takes a bit over 4 hours, though most of that is simply refrigeration time. This chill period is non-negotiable; slicing the bars while warm will cause the filling to ooze, and you'll lose those sharp, clean edges.
Balance is everything. We use a precise ratio of lemon juice to cornstarch in the topping to maintain a glossy appearance without it turning into a runny syrup. Trust the cooling period, as that is when the structure truly sets.
Shopping List Breakdown
When picking your lemons, look for the ones with smooth, thin skins. They usually have more juice and a more potent aromatic oil in the zest. Avoid the thick skinned ones; they can be bitter.
| Ingredient | Role | If You Don't Have It |
|---|---|---|
| Cream Cheese | Provides the structural fat and tang | Mascarpone (richer, less tangy) |
| Cornstarch | Thickens the lemon topping | Arrowroot powder (1:1 ratio) |
| Powdered Sugar | Creates a fine, melt in-mouth crust | Blitzed granulated sugar |
| All Purpose Flour | Builds the shortbread framework | 1:1 gluten-free blend |
For the butter, I always use unsalted. It lets me control the salt levels in the crust, which is what makes the lemon flavor pop. If you only have salted butter, just cut the added salt in half.
Essential Gear for the Job
You don't need a commercial setup for this, but a few tools can speed up the process. A hand mixer or a stand mixer, such as a KitchenAid, is ideal for ensuring the cream cheese is completely smooth. If you choose to mix by hand, be ready for a bit of an arm workout.
A standard 9x13 inch baking pan is best. I strongly suggest using parchment paper rather than just greasing the pan. Create a "sling" by leaving a few inches of paper draped over the edges; this makes it easy to remove the Lemon Cheesecake Bars from the pan for precise slicing.
Lastly, use a fine mesh zester. Stick to the bright yellow skin and avoid the white pith underneath. The pith has a bitter, medicinal flavor that can spoil the bright, fresh taste of the cheesecake.
Step-by-step Instructions
Phase 1: Pressing the Crust
- Beat 115 g softened butter and 50 g powdered sugar. Mix until smooth and pale.
- Stir in 125 g all purpose flour and 1.5 g salt. Note: Stir until a soft dough forms; don't overwork the flour or the crust becomes tough.
- Press the dough firmly into the bottom of your parchment lined pan. Use the bottom of a measuring cup to get an even layer.
- Bake at 350°F (175°C) for 12-15 minutes until the edges are just starting to turn a mahogany colored gold.
Phase 2: Whipping the Filling
- Beat 225 g room temperature cream cheese and 50 g granulated sugar. Mix until velvety and completely lump free.
- Add 1 large room temperature egg, 15 ml fresh lemon juice, and 2 g lemon zest. Mix on low speed just until combined. Note: Avoid over beating here to prevent air bubbles from forming in the bake.
- Pour the mixture over the pre baked crust. Smooth the top with a spatula to remove any gaps.
- Bake for 15-20 minutes until the center has a slight jiggle but the edges are set.
Phase 3: The Final Bake & Chill
- Whisk 50 g granulated sugar, 15 g cornstarch, 30 ml fresh lemon juice, and 15 g melted butter in a small saucepan. Heat over medium until thickened and glossy.
- Spread the lemon topping over the warm cheesecake.
- Let the bars cool to room temperature on the counter, then refrigerate for at least 4 hours before slicing.
Common Mistakes & Troubleshooting
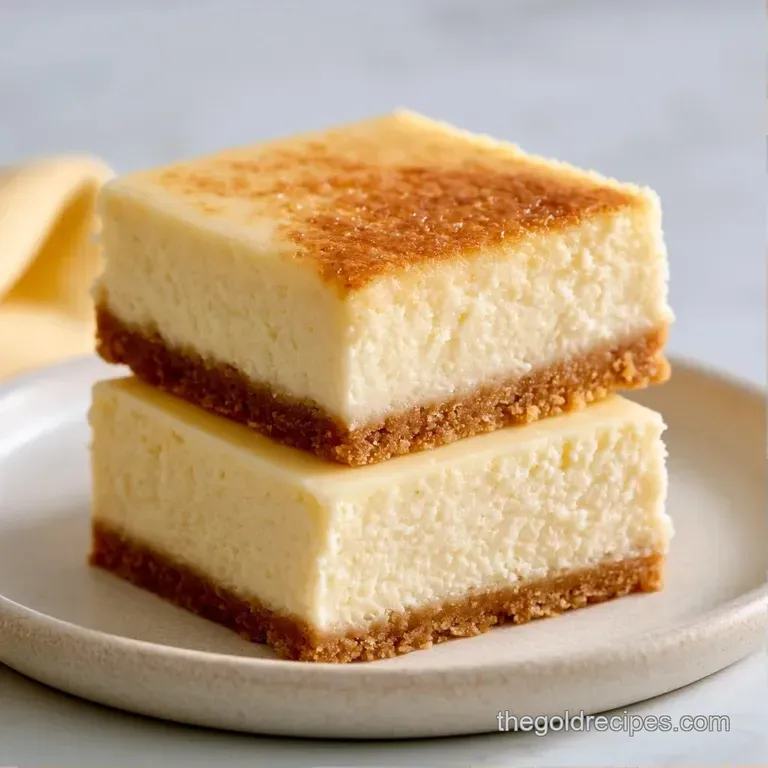
Preventing Surface Cracks
Cracks are usually the result of too much air. Beating eggs on high speed creates tiny bubbles that expand in the heat and then burst. To avoid this, always use the lowest mixer setting when adding the eggs.
If cracks do appear, don't worry, the lemon topping is designed to cover the top, so a few imperfections will be hidden.
Avoiding a Soggy Base
A soggy crust happens when the filling is added to unbaked dough. By pre-baking the shortbread for 12-15 minutes, you create a toasted seal that blocks moisture from the cream cheese.
If the crust still feels too soft, try chilling the dough in the refrigerator for 10 minutes before pressing it into the pan to prevent the butter from melting too quickly.
Eliminating Lumpy Filling
Lumps are almost always caused by cold cream cheese, as cold fat doesn't blend easily with sugar. The best fix is to leave your cream cheese on the counter for at least two hours. For a quicker option, microwave it for 10-15 seconds, but be careful not to melt it; otherwise, the emulsion may break and the Lemon Cheesecake Bars will become oily.
Fixing a Runny Topping
If your lemon glaze didn't thicken, it likely didn't reach the temperature needed to activate the cornstarch. The mixture must bubble slightly to "set." If it's too thin, return it to the heat for another 2 minutes.
If you have already spread the glaze and it's still runny, simply place the bars in the fridge for an extra hour.
Variations & Substitutions
If you want to tweak the flavor, you can easily adapt the filling. For a more intense citrus hit, you can replace some of the lemon juice with lime juice for a "Key Lime" style bar. If you prefer something slightly less tart, adding a teaspoon of vanilla extract to the cheesecake layer softens the edges.
For those who like a different base, you could swap the shortbread for a crushed graham cracker crust. However, the shortbread is what gives these Lemon Cheesecake Bars their signature "snap." If you're looking for other citrus desserts, you might enjoy my Lemon Cookie Bars recipe which has a different, more cake like texture.
| Original Ingredient | Substitute | Why It Works |
|---|---|---|
| All Purpose Flour | Almond Flour | Adds a nuttier flavor. Note: Crust will be softer and more fragile |
| Fresh Lemon Juice | Bottled Lemon Juice | Convenient. Note: Lacks the bright, aromatic punch of fresh fruit |
| Powdered Sugar | Granulated Sugar | Works in a pinch. Note: Crust will be crunchier and less "melt in-mouth" |
For a different fruit profile entirely, you can use the same base and filling logic for No Bake Strawberry Cheesecake Bars, though that version skips the oven entirely.
Decision Shortcut for Customizing
- More tang? → fold in 1 tsp extra lemon zest.
- Richer crust? → swap 10g of flour for 10g of cornstarch.
- Thicker glaze? → add 5g more cornstarch to the topping.
Make-ahead and Leftover Tips
Waiting until the following day actually enhances the taste, as the ingredients blend more deeply and the consistency firms up. To prevent sticking, place them in a container in a single layer with parchment paper separating each bar. Store them chilled for 5 days.
For freezer storage, cut the Lemon Cheesecake Bars into squares first. Set them on a baking sheet for 2 hours before moving them into a freezer-safe bag. These can be kept for 3 months. To serve, allow them to thaw in the refrigerator overnight.
Avoid thawing them at room temperature, as this creates condensation that makes the lemon glaze sticky.
Reduce waste by saving your leftover lemon peels. Store them in a small bag in the freezer for future zesting, or simmer them in water and a splash of vinegar to make a natural, citrus-scented all-purpose cleaner for your counters.
Serving Suggestions
For clean edges, rinse your knife in hot water and dry it before every slice. This ensures the creamy filling doesn't smudge into the lemon topping. Small, 2-inch squares are recommended since these treats are quite rich.
Serve these alongside a light, floral tea or a chilled glass of Prosecco, as the acidity helps balance the rich cream cheese. For a party presentation, garnish each square with a single raspberry and a tiny mint leaf; the red and yellow contrast looks sharp and polished.
If you're in the mood for more creamy desserts, a Classic Coconut Custard Pie is another wonderful choice that uses similar cooling methods to achieve a firm texture.
What Nobody Tells You
The real logic behind these Lemon Cheesecake Bars comes down to moisture control and temperature.
The Room Temp Fix: Using cream cheese and eggs at room temperature isn't just a suggestion. Cold ingredients don't emulsify, meaning the fat and water stay separate. When they're warm, they bond into a smooth, cohesive structure that prevents the "grainy" texture common in home baked cheesecakes.
The Parchment Sling: By lining the pan with parchment that hangs over the edges, you avoid the struggle of digging the bars out with a spatula. This ensures the sides stay straight and the bottom doesn't crack.
Zest vs. Juice: The juice provides the sourness, but the zest provides the aroma. The oils in the zest are what make the dessert smell like a fresh lemon grove. If you skip the zest, the bars will taste "sour" rather than "citrusy."
According to the USDA FoodData, lemons are high in vitamin C and citric acid, which acts as a natural flavor enhancer for the fats in the cream cheese. This chemical interaction is why the tartness feels so balanced against the heavy butter and cheese.
Right then, you've got the logic and the method. Now it's just about the execution. Keep your ingredients at the right temp, don't overbeat the filling, and for the love of all things baking, let them chill for the full 4 hours.
You'll end up with Lemon Cheesecake Bars that look and taste like they came from a high end bakery. Let's get baking!
Recipe FAQs
How do I prepare the shortbread base?
Beat softened butter and powdered sugar until smooth, then stir in flour and salt.
Tip: Press the dough firmly into the pan to prevent air gaps.
Is it true these bars are no-bake?
Actually, no. Both the crust and the cheese layer must be baked to achieve the proper structure.
Tip: Refrigerate for at least 4 hours before slicing for clean edges.
What ensures a lump-free filling?
Use cream cheese and eggs that have reached room temperature before beating.
Tip: Mix on low speed just until combined to avoid air bubbles.
Can I vary the citrus flavor?
Replace a portion of the lemon juice with lime juice for a Key Lime style profile.
Tip: If you loved the sweet-tart balance in this recipe, see how we use the same acid technique in classic cranberry sauce.
Why did my cheesecake layer crack?
Over-beating the batter incorporates too much air which expands and collapses during baking.
Tip: Stop mixing the moment the egg and zest are combined.
Lemon Cheesecake Bars for 16 Bars