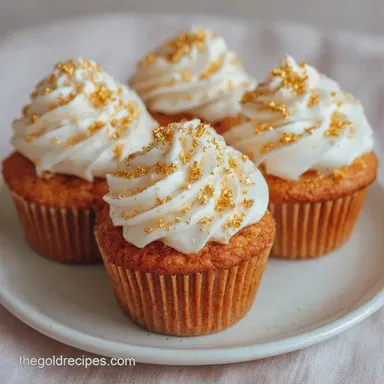
Luxury Edible Gold Flake Cupcakes
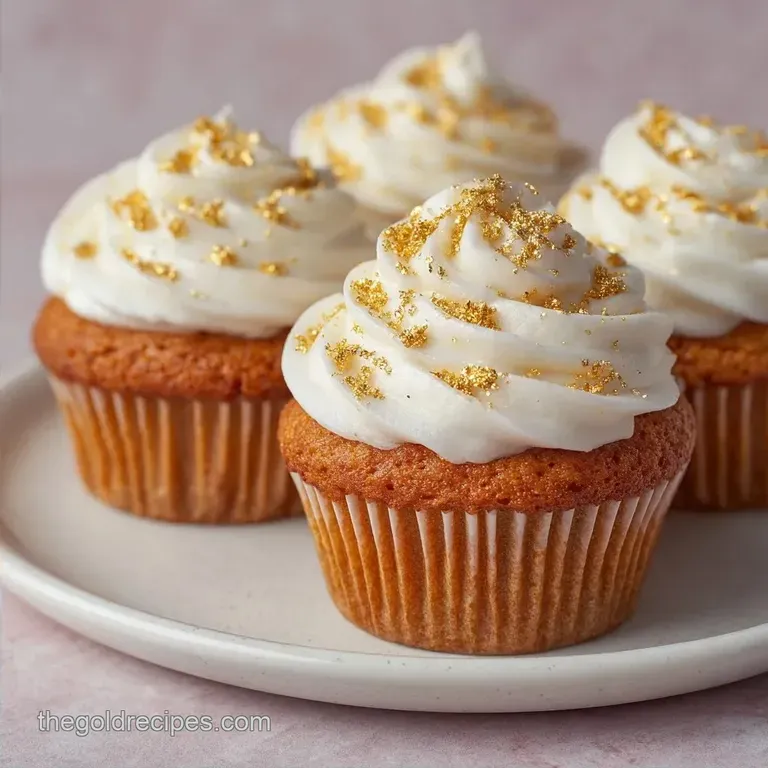
- Time: 20 min active + 22 min baking
- Flavor/Texture Hook: Velvety vanilla bean frosting with a shatter thin gold finish
- Perfect for: Luxury parties, weddings, or high end dinner parties
- Edible Gold Flake Cupcakes
- Secret to Gold Application
- The Ingredient List
- Essential Baking Tools
- The Step-by-Step Process
- Fixing Common Baking Errors
- Troubleshooting Common Issues
- Making Diet Friendly Versions
- Adjusting the Batch Size
- Gold Baking Truths
- Freezer and Reheating Tips
- Great Flavor Pairings
- Recipe FAQs
- 📝 Recipe Card
The first time I tried working with gold leaf, it was a disaster. I tried to pick up the flakes with my fingers, and they just vanished, sticking to my skin or blowing away with a single breath. It felt like trying to catch smoke with a net.
I spent an hour chasing gold specks around my kitchen only to end up with three cupcakes that looked like they'd been through a glitter storm.
The fix wasn't in the gold, but in the physics of the frosting. I realized that warm buttercream is too porous, and the gold just sinks in. Once I started chilling the cupcakes for exactly 10 minutes, the surface crystallized just enough to hold the flakes on top.
This shift in temperature is what turns a messy attempt into a professional result.
These Edible Gold Flake Cupcakes aren't just about the bling. We're using a high fat vanilla bean base to ensure the flavor matches the visual. You'll get a cake that is moist and a frosting that holds a sharp peak, providing the perfect pedestal for those gold flakes.
Edible Gold Flake Cupcakes
Right then, let's decode why this specific combination of ingredients works. Most people treat gold as just a topping, but the chemistry of the cake and frosting is what makes the gold actually stay put.
Fat Stabilization: Using unsalted butter at a specific softness allows for a stable emulsion that doesn't collapse when you pipe the swirls.
Static Attraction: A dry paintbrush creates a tiny electrostatic charge that lifts the gold flakes from the packet without tearing them.
Surface Tension: The heavy cream in the frosting creates a silky skin that prevents the gold from bleeding into the sugar.
Leavening Balance: The ratio of baking powder to flour ensures a flat top, which is necessary for a clean frosting application.
| Method | Prep Time | Texture | Best For |
|---|---|---|---|
| Fast (Box Mix) | 15 mins | Airy/Spongy | Quick gatherings |
| Classic (Scratch) | 20 mins | Velvety/Dense | Luxury events |
Secret to Gold Application
When we look at the components of Edible Gold Flake Cupcakes, we're really looking at a structure of fats and sugars. The gold itself is chemically inert, meaning it doesn't taste like anything, but it reacts to the environment around it.
| Ingredient | Science Role | Pro Secret |
|---|---|---|
| Unsalted Butter | Structural Fat | Keep at 65°F for the perfect cream |
| Vanilla Bean Paste | Flavor Density | The seeds add visual "specks" of quality |
| Edible Gold Flakes | Visual Finish | Use a synthetic brush, not natural hair |
| Powdered Sugar | Stability | Sift it to avoid "sugar pockets" in frosting |
The Ingredient List
For the cake base, you'll need these exact measurements. Don't eyeball the flour, or you'll end up with a cupcake that's more like a biscuit.
- 1.5 cups all purpose flour Why this? Provides the standard gluten structure for a steady rise (Substitute: Cake flour for a softer crumb)
- 0.5 cup granulated sugar Why this? Creates the initial aeration during creaming (Substitute: Caster sugar for faster dissolving)
- 1.5 tsp baking powder Why this? Necessary for the 22 minute lift (Substitute: Baking soda + cream of tartar)
- 0.25 tsp salt Why this? Balances the sugar profiles (Substitute: Fine sea salt)
- 0.5 cup unsalted butter, softened Why this? Essential for the emulsion (Substitute: Vegan butter blocks)
- 1 large egg Why this? Binds the structure and adds richness (Substitute: Flax egg, though the rise will be lower)
- 0.5 cup whole milk Why this? Hydrates the flour for a velvety texture (Substitute: Buttermilk for a tangier crumb)
- 2 tsp pure vanilla extract Why this? Base aromatic layer (Substitute: Almond extract for a nutty twist)
For the velvet frosting and gold finish:
- 1 cup unsalted butter, softened Why this? High fat content for stiff peaks (Substitute: high-quality margarine)
- 3 cups powdered sugar, sifted Why this? Hardens the frosting for the gold to sit on (Substitute: Icing sugar)
- 2 tbsp heavy cream Why this? Smooths out the grit of the sugar (Substitute: Full fat coconut milk)
- 1 tsp vanilla bean paste Why this? Stronger, more complex flavor than extract (Substitute: Pure vanilla extract)
- 0.5g salt Why this? Cuts through the heavy sugar (Substitute: Pinch of salt)
- 1g edible gold flakes Why this? The visual hero of the dish (Substitute: Gold luster dust mixed with lemon extract)
Essential Baking Tools
You don't need a professional lab, but a few specific tools make the gold application much easier. I highly recommend a stand mixer such as KitchenAid for the frosting, as you need a consistent high speed whip to get those white, fluffy peaks.
For the gold, a small, stiff bristled synthetic paintbrush is a must. Natural hair brushes can sometimes hold onto too much moisture, which will cause the gold to clump instead of flake. You'll also want a 12 cup muffin tin and parchment liners.
Trust me, don't use the tin without liners, or you'll spend your luxury party scrubbing burnt sugar off the metal.
The step-by-step Process
Let's get into the execution. This is where we transition from chemistry to cooking.
Phase 1: Baking the Base
- Preheat oven to 350°F (175°C) and line a 12 cup muffin tin with parchment paper liners. Note: Proper preheating prevents the cupcakes from sinking.
- Cream the softened butter and granulated sugar until pale and fluffy. Wait until the mixture looks like white clouds, not yellow paste.
- Beat in the egg and vanilla extract until fully incorporated. Note: Avoid over beating here to prevent air bubbles.
- Whisk flour, baking powder, and salt in a separate bowl.
- Alternately add the dry ingredients and milk to the butter mixture, stirring until just combined. Stop the moment the streaks of flour vanish.
- Fill liners 2/3 full and bake for 20-22 minutes until a toothpick comes out clean.
Phase 2: Whipping the Stable Frosting
- Beat softened butter on high for 3 minutes until almost white. Note: This aeration is what makes the frosting light.
- Gradually add powdered sugar one cup at a time on low speed.
- Pour in heavy cream, vanilla bean paste, and salt; whip on high for another 2 minutes until stiff peaks form. The frosting should hold its shape when you lift the beater.
Phase 3: The Art of Gold Application
- Pipe a smooth, rounded swirl of frosting onto each cooled cupcake.
- Place frosted cupcakes in the fridge for 10 minutes to set the surface. Note: This creates the "grip" for the gold.
- Use a dry paintbrush to pick up edible gold flakes via static electricity and dab them onto the peak of the frosting in an asymmetrical pattern.
Fixing Common Baking Errors
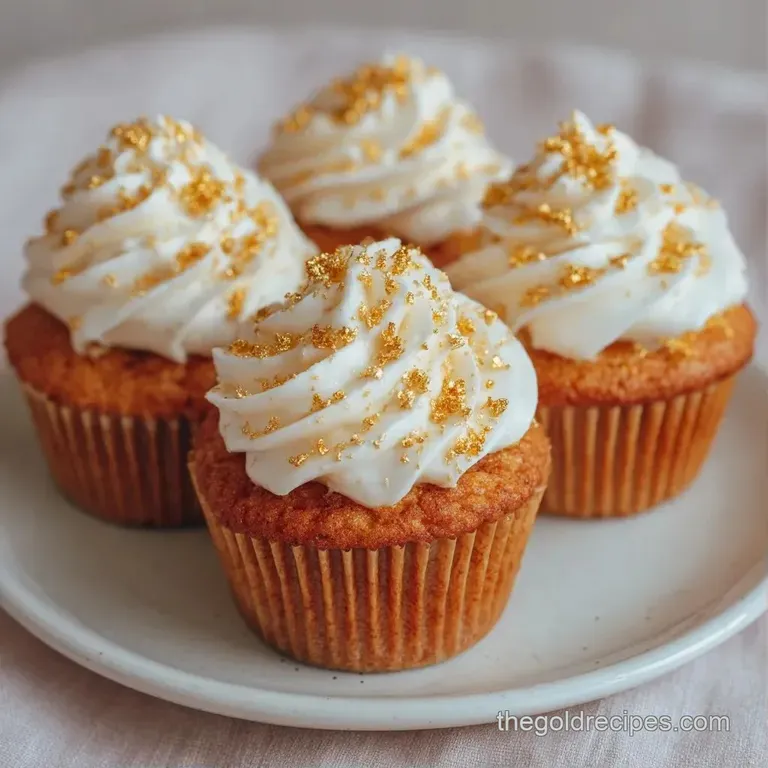
Even with a plan, things happen. The most common issues with Edible Gold Flake Cupcakes usually involve the frosting consistency or the gold's behavior.
Troubleshooting Common Issues
| Issue | Solution |
|---|---|
| Gold leaf sticking to my fingers | This happens because of the natural oils on your skin. Gold is attracted to moisture and oils. If you touch the flakes, they'll bond to your finger instead of the frosting. |
| Why did my cupcakes sink in the middle | Usually, this is a result of opening the oven door too early or using expired baking powder. The sudden drop in temperature causes the air cells to collapse before the flour structure has set. |
| Why is the gold "sinking" into the frosting | Your frosting was too warm or too soft. If the butter hasn't crystallized, the gold flakes will be absorbed into the fat. Put them back in the fridge for another 5 minutes. |
Common Mistakes Checklist
- ✓ Did you sift the powdered sugar? (Avoids lumps)
- ✓ Is the butter for the frosting truly softened? (Avoids curdling)
- ✓ Did you chill the frosted cupcakes? (Essential for gold)
- ✓ Are you using a synthetic brush? (Prevents clumping)
- ✓ Did you stop stirring the batter immediately? (Prevents toughness)
Making Diet Friendly Versions
You can tweak this recipe to fit different needs, though some changes will affect the final look. If you're looking for other luxury treats, you might like my Best Classic Blondies recipe which uses a similar high fat profile for a chewy texture.
For the Lighter Vanilla Base
To make these gluten-free, swap the all purpose flour for a 1:1 gluten-free baking blend. Be aware that the crumb will be slightly denser, so you might need an extra minute of bake time.
For the Vegan Frosting
You can replace the butter with a high-quality vegan butter block and use coconut cream instead of heavy cream. The stability is slightly lower, so the fridge set step (Step 11) becomes even more critical to keep the gold from sliding.
For the sugar-free Alternative
Using a monk fruit powdered sweetener can work, but the frosting won't have the same structural "stiffness." I suggest adding a pinch more salt to mask the aftertaste of the sweetener.
| Original Ingredient | Substitute | Why It Works |
|---|---|---|
| All Purpose Flour | Almond Flour | Nutty flavor. Note: Denser crumb, may not rise as high |
| Heavy Cream | Coconut Cream | Similar fat content. Note: Adds a slight tropical hint |
| Granulated Sugar | Maple Sugar | Deep flavor. Note: Changes the cake color to light brown |
Adjusting the Batch Size
Scaling a baking recipe isn't as simple as multiplying by two, especially with leavening agents.
Scaling Down (½ batch): Use 3/4 cup flour and 1/4 cup sugar. For the egg, crack one into a bowl, whisk it, and use exactly half by weight. Reduce the baking time by about 20%, starting your check at 16 minutes.
Scaling Up (2x batch): When doubling the batch, do not double the salt or baking powder exactly, use 2.5 tsp of baking powder instead of 3 to prevent the cupcakes from over expanding and collapsing.
I recommend working in two separate batches of batter to ensure the butter and sugar cream properly in your mixer. If you're baking 24 cupcakes at once, lower the oven temperature to 325°F and extend the time by 3-5 minutes to ensure the center of the pan cooks through.
Gold Baking Truths
There are a few misconceptions about using gold in baking that can lead to wasted money.
Myth: Gold leaf has a metallic taste. The truth is that 22K-24K edible gold is chemically inert. It doesn't react with your taste buds at all. If you taste "metal," it's likely from the tools you used or a low quality gold substitute. According to America’s Test Kitchen, you should always look for gold labeled as edible and of high karat to ensure safety and purity.
Myth: You can bake the gold into the cake. This is a mistake. Gold leaf is incredibly thin and will either melt or be absorbed into the batter during the baking process. It is strictly a finishing touch.
Freezer and Reheating Tips
These cupcakes hold up surprisingly well if you handle them correctly.
Storage: Keep them in an airtight container in the fridge for up to 4 days. The gold will stay bright, though the frosting will harden.
Freezing: You can freeze the unfrosted cupcakes for up to 3 months. Wrap them individually in plastic wrap and then place them in a freezer bag. To thaw, let them come to room temperature on the counter before frosting.
Do not freeze the cupcakes after the gold has been applied, as the condensation from thawing can cause the gold to bleed or peel.
Reheating: I don't recommend reheating these. The butter based frosting will melt instantly. If the cake is too cold, let it sit at room temperature for 30 minutes.
Zero Waste: If you have leftover frosting, freeze it in small dollops on a baking sheet, then transfer to a bag. It's great for topping a slice of toasted brioche. Any leftover gold flakes should be kept in their original foil packet, away from any drafts or fans.
Great Flavor Pairings
Since these Edible Gold Flake Cupcakes are a rich, vanilla forward dessert, they pair best with something acidic or bitter to cut through the sugar.
A sharp raspberry coulis or a fresh passionfruit drizzle serves as a great contrast. If you're serving these at a party, consider pairing them with a side of fresh berries. If you want another impressive dessert for the same event, a Classic Pineapple Upside Down Cake provides a wonderful contrast in texture, tangy and caramelized versus the velvety sweetness of the gold cupcakes.
For drinks, a cold brew coffee or a tart champagne works best. The bitterness of the coffee cuts through the butter heavy frosting, while the bubbles in champagne cleanse the palate between bites. Just remember to keep the cupcakes chilled until serving to ensure that gold finish stays exactly where you put it.
Recipe FAQs
Are there edible gold flakes?
Yes, 22-24 karat gold is biologically inert and edible. It passes through the digestive system without being absorbed or metabolized.
How to apply gold flakes to cupcakes?
Use a dry paintbrush to pick up flakes via static electricity. Gently dab the gold onto the frosting peaks in an asymmetrical pattern for a professional look.
Are all metallic flakes from craft stores edible?
No, only products explicitly labeled "edible" or "food-grade" are safe. Craft-grade gold often contains copper or other metals that are toxic if ingested.
What does gold-infused food taste like?
Gold has no taste or smell. It is used solely for visual luxury and does not alter the flavor of the cake or frosting.
How to handle gold leaf without it sticking to fingers?
Avoid touching the flakes with your bare skin. Natural oils on your fingers attract the gold, causing it to bond to you rather than the dessert.
Can gold leaf be placed on frosting or whipped cream?
Yes, provided the surface is chilled. Set the frosting in the fridge for 10 minutes first; if you enjoyed this finishing touch, see how the same principle works in our gold dusted cake.
Is it true that cupcakes only sink if the baking powder is expired?
No, this is a common misconception. While expired powder is a cause, opening the oven door too early also creates a sudden temperature drop that collapses the air cells.
Edible Gold Flake Cupcakes for 12