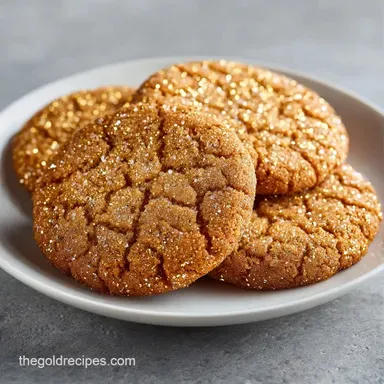
Edible Gold Dust Cookies: Velvety and Crisp
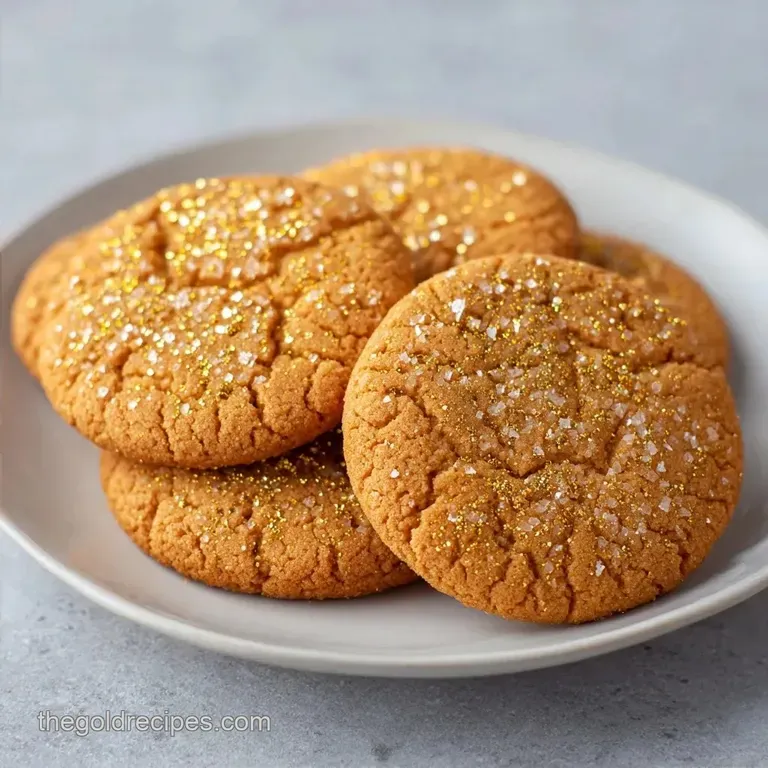
- Time: 15 min active + 10 min baking
- Flavor/Texture Hook: Velvety, buttery crumb with a crisp, metallic snap
- Perfect for: High end parties, New Year's Eve, or viral dessert boards
Edible Gold Dust Cookies
I remember the first time I saw gold leafed desserts at a high end gallery opening in the city. The cakes looked more like jewelry than food, and the sheer extravagance of it felt almost intimidating.
In many cultures, especially across the Middle East and parts of Asia, incorporating gold into food isn't just about showing off, it's a symbol of prosperity and celebration.
But for us home cooks, that level of luxury usually feels out of reach or way too fussy. I wanted to decode that "jewelry" look and bring it into my own kitchen without spending a fortune on 24k sheets.
I spent a few weekends hacking the base recipe to make sure the cookie didn't brown too much, because a dark brown cookie makes the gold look muddy.
The goal here is a pale, velvety canvas. Once you have the right base, the edible gold dust does all the heavy lifting. These Edible Gold Dust Cookies are designed to look like they came from a professional patisserie, but the process is actually just a bit of chemistry and some steady hand eye coordination.
Why the Gold Stays Put
The trick to a metallic finish isn't just the dust, it's how the dust interacts with the surface.
Solvent Evaporation: Lemon extract acts as a fast evaporating carrier. It suspends the gold particles, allows them to lay flat on the cookie, and then vanishes, leaving only the pigment behind.
Surface Tension: A cooled cookie has a set fat structure. If you apply gold to a hot cookie, the butter oils migrate to the surface and break the tension, causing the gold to "bead up" or streak.
Pigment Density: Luster dust consists of mica based particles. Because these aren't soluble in water, they sit on top of the cookie rather than soaking in, which is why you get that reflective, shatter like shine.
Sugar Crystallization: Using coconut sugar provides a slightly different crystalline structure than white sugar, which helps the cookie maintain a soft center while the edges stay just firm enough to support the weight of the metallic paint.
| Butter Prep Method | Time | Texture | Best For |
|---|---|---|---|
| Softened (Room Temp) | 0 min | Spreads more, chewier | Classic soft cookies |
| Melted (Stovetop) | 5 min | Denser, flatter | Fudgy, thin cookies |
| Cold (Cubed) | 10 min | Thicker, cake like | Shortbread style |
The Building Blocks
Decoding the ingredients helps you understand why this specific combination works for a luxury look. According to the King Arthur Baking guides on flour, the protein content in all purpose flour is the middle ground we need to prevent the cookie from becoming too tough or too fragile.
| Ingredient | Science Role | Pro Secret |
|---|---|---|
| Unsalted Butter | Lipid Base | Use European style butter for lower water content |
| Coconut Sugar | Humectant | Adds a caramel note without darkening the dough too much |
| Lemon Extract | Solvent | The high alcohol content dries the gold paint instantly |
| Luster Dust | Reflective Agent | Sift it first to remove clumps before mixing |
Recipe Specs
For these Edible Gold Dust Cookies, precision is everything. If you over measure the flour, the cookies won't spread, and you'll get a dome shape that's harder to paint evenly.
- 1/2 cup (115g) unsalted butter, softened Why this? Provides the velvety mouthfeel. (Substitute: Vegan butter sticks)
- 1/3 cup (65g) coconut sugar Why this? Deep flavor, lower glycemic index. (Substitute: Light brown sugar)
- 1 large (50g) egg, room temperature Why this? Emulsifies the fats and liquids. (Substitute: 1/4 cup applesauce - will be denser)
- 1 tsp (5ml) vanilla extract Why this? Classic aromatic base. (Substitute: Almond extract)
- 1 1/2 cups (190g) all purpose flour Why this? Standard structure. (Substitute: Spelt flour for nuttiness)
- 1/2 tsp (3g) baking powder Why this? Provides a slight lift. (Substitute: 1/4 tsp baking soda + 1/2 tsp cream of tartar)
- 1/4 tsp (1.5g) salt Why this? Balances the sugar. (Substitute: Fine sea salt)
- 1 tbsp (5g) edible gold luster dust Why this? The visual star. (Substitute: Silver or bronze dust)
- 1 tsp (5ml) lemon extract Why this? The perfect paint solvent. (Substitute: Vodka or clear lemon juice)
The gear you need
You don't need a professional lab, but a few specific tools make the "hacking" process easier.
- Electric hand mixer (or a stand mixer such as KitchenAid)
- Digital kitchen scale (grams are more accurate than cups)
- Parchment paper (prevents sticking and keeps bottoms pale)
- Small ceramic bowl (for mixing the gold paint)
- Food grade paintbrush (synthetic bristles work best)
- Baking sheet
Step by step guide
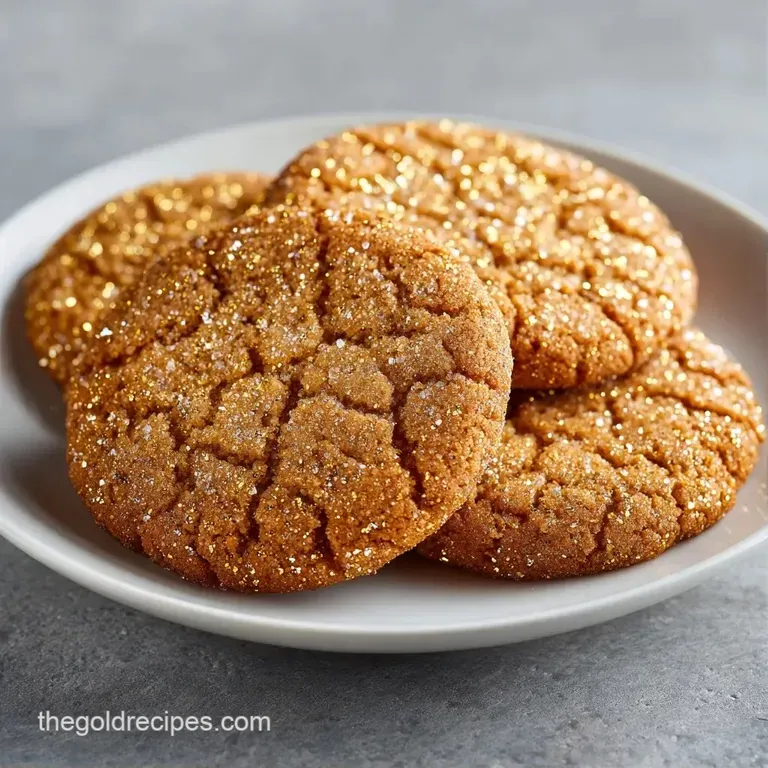
Follow these steps exactly to ensure the base is the right color for the gold. If you're looking for other treats to serve alongside these, my Classic Blondies recipe offers a great texture contrast.
Phase 1: Preparing the Dough
- Cream the softened butter and coconut sugar. Use your mixer on medium speed until the mixture is pale and fluffy. Note: This incorporates air, which prevents the cookies from being too heavy.
- Beat in the egg and vanilla extract. Mix until fully incorporated and smooth.
- Gradually fold in the all purpose flour, baking powder, and salt. Stir until a soft dough forms. Note: Do not overmix here or the cookies will become tough.
Phase 2: Shaping and Baking
- Preheat your oven to 350°F (175°C).
- Roll the dough into 1 inch balls. Place them on a parchment lined baking sheet and flatten slightly with the palm of your hand.
- Bake for 8-10 minutes. Remove the cookies the moment the edges are just barely set. Note: They should still look slightly underbaked in the center to keep them pale.
- Allow the cookies to cool completely on the baking sheet. Wait at least 30 minutes before painting.
Phase 3: Applying the Gold
- To apply the gold finish, you have two options. Either use an edible gold dust spray from 6 inches away for a soft glow, or mix the luster dust with lemon extract in a small bowl until it reaches a paint like consistency.
- Apply the mixture with a food grade paintbrush in smooth, singular strokes.
Fixes for common fails
When I first tried this, my gold looked like splotchy yellow paint. It turns out I was painting the cookies while they were still warm, and the butter was leaking out, pushing the gold away.
Troubleshooting Common Issues
| Issue | Solution |
|---|---|
| Why did my gold dust look "spotty" | This usually happens because of surface oils or uneven paint consistency. If the luster dust isn't fully blended with the lemon extract, you'll get clumps of pigment. |
| Why did my cookies spread too thin | This is typically a butter temperature issue. If the butter is too melted before you start, the structure collapses in the oven. |
| Why is the gold color dull | Dull gold happens when the dust is mixed with too much liquid or applied to a dark, overbaked cookie. |
Common Mistakes Checklist
- ✓ Did you use room temperature eggs? (Prevents batter from curdling)
- ✓ Did you stop baking while the centers were pale? (Crucial for gold visibility)
- ✓ Is the gold dust specifically labeled "edible"? (Some "non toxic" dusts aren't for eating)
- ✓ Did you use a synthetic brush? (Natural bristles can shed into the icing)
- ✓ Did you avoid overmixing the flour? (Keeps the texture velvety)
Adapting the recipe
Depending on your dietary needs, you can tweak the base. If you're craving something raw and sweet, you might enjoy my Cottage Cheese Cookie Dough, but for these baked treats, you need the structure of flour and egg.
Scaling for Crowds - Cutting it in half: Use 57g butter and 32g sugar. Beat one egg in a bowl and use exactly 25g. Reduce bake time by about 1-2 minutes. - Doubling the batch: Use 230g butter and 130g sugar.
I recommend scaling the salt and baking powder to 1.5x rather than 2x to avoid a metallic or chemical aftertaste. Work in two separate batches to avoid overcrowding the oven.
Dietary Swaps
- gluten-free: Replace all purpose flour with a 1:1 GF blend. Note: The dough may be stickier, so chill it for 30 minutes before rolling.
- Vegan: Use vegan butter and a flax egg (1 tbsp ground flax + 3 tbsp water). The gold application remains the same.
- Low Sugar: You can swap coconut sugar for a monk fruit blend, but be aware that the cookies will be paler and might spread slightly more.
Decision Shortcut
- If you want a mirror finish → Use the paintbrush and lemon extract method.
- If you want a subtle shimmer → Use the gold spray.
- If you want a matte gold look → Dust the raw dough balls in powder before baking.
Storage and zero waste
These cookies hold their shine surprisingly well, but moisture is the enemy of luster dust.
Storage Guidelines Store the cookies in an airtight container with parchment paper between layers. In the fridge, they'll stay fresh for 5 days. In the freezer, they'll last up to 3 months. When reheating, avoid the microwave as it can melt the gold finish; instead, let them thaw at room temperature.
Zero Waste Tips If you have a tiny bit of gold paint left in the bowl, don't toss it. Use it to decorate a few strawberries or a piece of dark chocolate. For the leftover lemon extract, it's great for adding a zing to a simple sugar glaze for other baked goods.
Serving and pairing tips
Because these are visually intense, keep the plating simple. A plain white ceramic platter makes the gold pop.
Best Pairings I find these pair best with drinks that have a bit of acidity to cut through the buttery richness. A chilled Prosecco or a sharp Earl Grey tea works brilliantly. If you're serving them at a party, place them next to some fresh raspberries or blackberries for a color contrast.
Presentation Ideas For a "viral" look, stack the cookies in a pyramid and lightly spray a final mist of gold over the top of the pile. This creates a cohesive, shimmering effect that looks like a professional dessert installation.
Trust me, don't overcomplicate the plate the gold is the star here.
Recipe FAQs
Is edible gold dust safe to eat?
Yes, as long as it is certified food grade. Pure gold is biologically inert, meaning it passes through your digestive system without being absorbed into the body.
What does gold infused food taste like?
It is completely tasteless. Gold is used exclusively for visual luxury and does not change the flavor profile of your cookies.
How do I make the gold paint for these cookies?
Mix the luster dust with lemon extract in a small bowl until it reaches a paint like consistency. Use a food grade paintbrush to apply it to the cooled cookies.
Is it true that gold dust should be baked into the dough?
No, this is a common misconception. You must apply the gold finish after the cookies have cooled completely to prevent the color from dulling or burning in the oven.
Why did my gold finish look spotty or clumped?
The luster dust wasn't fully blended with the lemon extract. Ensure the mixture is smooth and the cookie surface is free of excess oils to avoid pigment clumps.
Why did my cookies spread too thin during baking?
The butter was likely too warm before mixing. If the butter is too melted when you cream it with the coconut sugar, the structure collapses during the bake.
Can I use this gold painting technique on other desserts?
Yes, this method works on most firm surfaces. If you enjoyed applying the finish here, see how the same decorative principle works in our gold topped cupcakes.
Edible Gold Dust Cookies