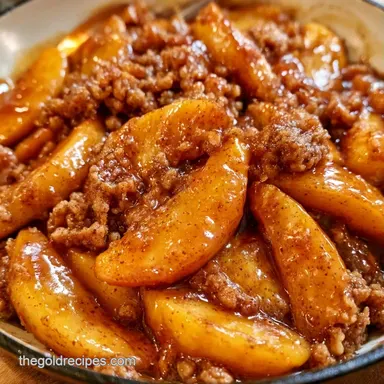
Iron Skillet Apple Pie with Crumb Topping
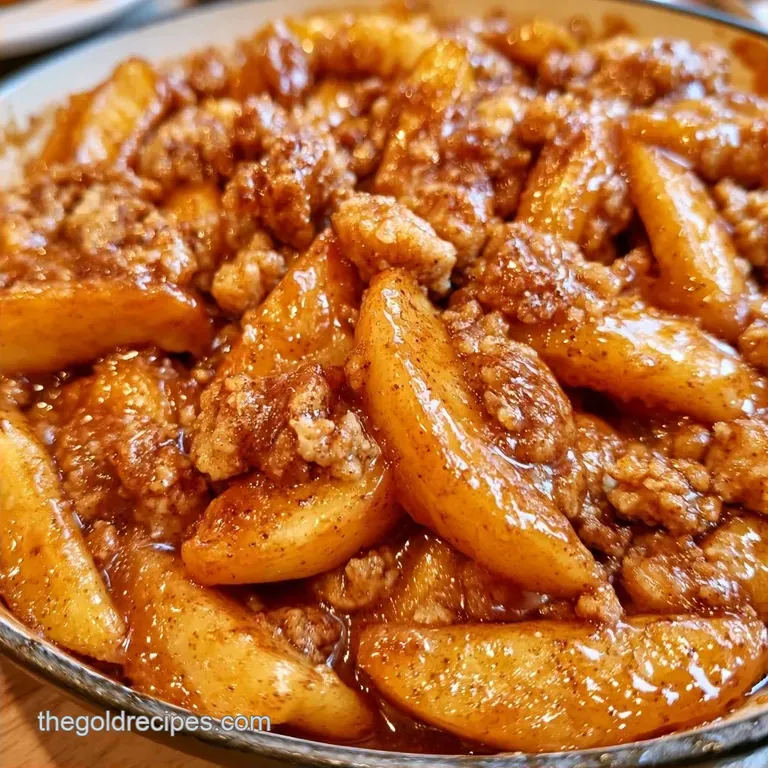
- Time: 15 min active + 45 min bake
- Flavor/Texture Hook: Tart apples under a crisp, buttery crumble
- Perfect for: Autumn family gatherings or a rustic weekend treat
The scent of toasted butter and simmering cinnamon hits you the moment the skillet leaves the oven. I remember bringing this to a bonfire a few years ago, and the pan itself was nearly as big a conversation starter as the dessert.
It has a relaxed, "thrown together" aesthetic that actually takes some careful planning to achieve.
Many people struggle with standard pies because the crust cooks unevenly, resulting in burnt edges or a soggy bottom. The issue is almost always rooted in how the heat is distributed.
An Iron Skillet Apple Pie solves this problem. You get a dessert that feels substantial but avoids the rolling pin entirely. It is a simple workaround for anyone who wants deep dish flavor without the technical difficulty of a pastry crust.
Iron Skillet Apple Pie Basics
The goal here is to maximize the surface area of the fruit while ensuring the topping doesn't just sink into a soup. By using a cast iron pan, you're essentially creating a heat sink.
The metal holds onto the temperature and pushes it upward through the apples, which helps the cornstarch thicken the juices more efficiently.
I've found that the 10 inch skillet is the sweet spot. Anything larger and the apples spread too thin, losing that jammy consistency. Anything smaller and you have to stack the fruit too high, which means the middle takes forever to cook while the edges dry out.
Why the Pan Works
The metal in the pan conducts heat faster than ceramic or glass. This forces the bottom layer of apples to caramelize instead of steaming.
Thermal Mass: The heavy iron stays hot, which keeps the filling bubbling and the bottom crust less base from getting mushy.
| Method | Time | Texture | Best For |
|---|---|---|---|
| Cast Iron | 60 min | Crispy edges, soft center | Rustic serving |
| Glass Dish | 75 min | Softer edges, risk of soggy bottom | Traditional look |
| Ceramic | 70 min | Even but slower heat | Slow bakes |
If you're looking for something with a different profile for a party, you might try a Coconut Custard Pie, but for fall, this is the way to go.
Ingredient Breakdown
| Ingredient | What It Does | Best Swap |
|---|---|---|
| Granny Smith Apples | Holds shape during bake | Honeycrisp (sweeter) |
| Cornstarch | Thickens apple juices | Arrowroot powder |
| Cold Butter | Creates crumble pockets | Coconut oil (frozen) |
| Brown Sugar | Adds molasses depth | Coconut sugar |
For the Apple Filling
- 6 large Granny Smith apples, peeled and sliced into 1/4 inch wedges (approx. 3 lbs) Why this? They stay firm and cut through the sugar.
- 3/4 cup granulated sugar Why this? Draws moisture out for a syrup.
- 2 tbsp cornstarch Why this? Prevents a runny mess.
- 1 tbsp ground cinnamon
- 1/4 tsp ground nutmeg
- 1/4 tsp salt
- 2 tbsp unsalted butter, melted
For the Crumb Topping
- 1 cup all purpose flour
- 1/2 cup packed light brown sugar
- 1/2 cup cold unsalted butter, cubed Why this? Cold fat is the key to the crunch.
- 1/2 tsp ground cinnamon
- 1/4 tsp salt
| Goal | What to change |
|---|---|
| Tartest flavor | Use only Granny Smith |
| Extra crunch | Add 1/4 cup rolled oats |
| Less sugar | Reduce granulated sugar by 2 tbsp |
Tools for the Job
You need a 10 inch cast iron skillet. I use a Lodge, but any seasoned pan works. If your pan is old and sticky, give it a quick re seasoning before you start.
You'll also want a large mixing bowl for the apples and a separate bowl for the crumble. A pastry cutter is great for the butter, but your fingertips work just as well if you're quick.
The Assembly Process
Preparing the Apple Base
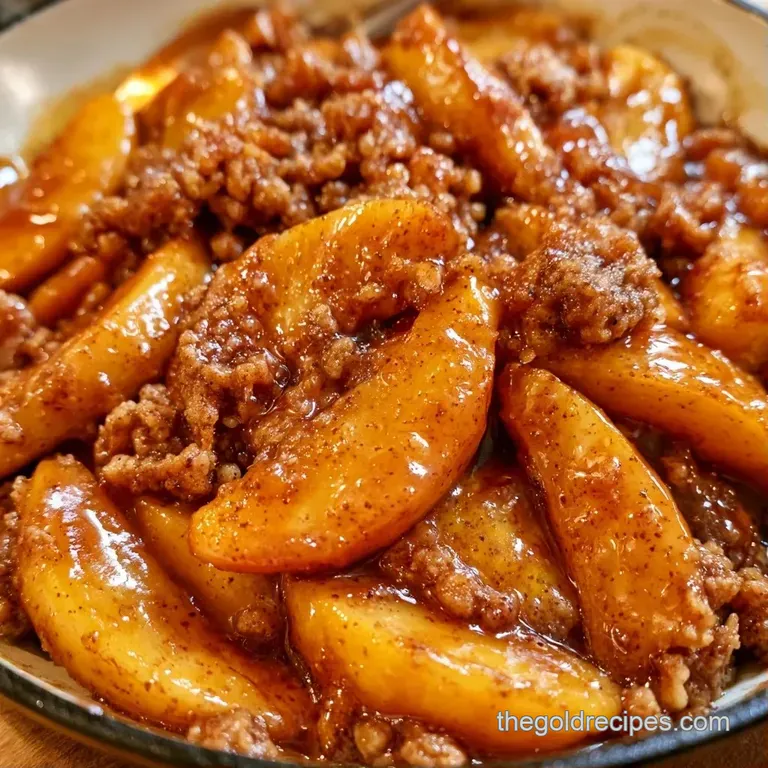
Preheat your oven to 375°F (190°C). In a large mixing bowl, toss the sliced apples with granulated sugar, cornstarch, cinnamon, nutmeg, and salt. Once everything is coated, drizzle in the melted butter and stir. Wait until the apples look glossy before moving them to the pan.
Assembling the Skillet
Pour the apple mixture directly into your room temperature skillet. Press the apples down firmly with a spatula. This is a move most people skip, but removing those air gaps is how you get a dense, jammy filling. Make sure the fruit reaches all the way to the edges.
Mixing the Crumble
Combine flour, brown sugar, cinnamon, and salt in a bowl. Work the cold cubed butter into the flour using your fingers. Stop when the mixture looks like coarse crumbs roughly the size of peas. If the butter starts to melt and look like paste, put the bowl in the freezer for 5 minutes.
Baking the Pie
Sprinkle the crumb topping evenly over the apples. Slide the skillet into the center rack. Bake for 45 minutes until the topping is golden brown and the filling is bubbling around the sides.
Let the Iron Skillet Apple Pie rest for at least 15 minutes. If you cut into it immediately, the juices will run everywhere.
Fixing Common Issues
If your topping is too pale, it's usually because the oven temp is too low or the pan was too crowded. You can pop it under the broiler for 60 seconds, but watch it like a hawk.
When the filling stays watery, it's often the apple variety. According to data from USDA FoodData Central, different apples have varying water and sugar levels. McIntosh apples, for example, break down into mush, whereas Granny Smiths hold their structure.
Filling is Too Runny
This happens when the cornstarch isn't distributed well or the apples were too juicy. Adding a tiny bit more thickener next time helps.
Topping Is Too Sandy
If the butter wasn't cold enough, the crumble won't clump. It becomes a sandy layer instead of a chunky crust.
Bottom Is Burnt
This is rare in cast iron, but it can happen if you use a very thin pan. Lower the rack one notch.
| Problem | Root Cause | Solution |
|---|---|---|
| Watery filling | Too much juice / wrong apple | Add 1 tsp cornstarch |
| Sandy topping | Butter too warm | Chill butter before mixing |
| Burnt edges | Oven too hot / thin pan | Lower rack position |
Dietary Adaptations
To make this gluten-free, swap the all purpose flour for a 1:1 gluten-free baking blend. Almond flour works too, but it makes the crumble softer and more nutty.
For a dairy-free version, use chilled vegan butter sticks. They behave almost exactly like dairy butter in the crumble.
If you want to change the fruit, peaches or pears work great here. Just keep the cornstarch ratio the same. If you're making a variety of desserts for a crowd, these pair nicely with some Mini Pineapple Upside Down Cakes.
Storage and Waste
Keep any extra portions chilled for 3 days. Use foil to cover the skillet or transfer the slices into a container. To regain that crispiness, reheat in the oven at 300°F (150°C) for 10 minutes. Avoid using a microwave to prevent a soggy topping.
This dish freezes beautifully. Wrap the unbaked pie securely in plastic and foil for storage in the freezer for up to 2 months. If baking from frozen, simply increase the cook time by 10-15 minutes.
For a zero waste treat, save the apple peels. Mix them with a bit of sugar and cinnamon, then air fry at 350°F for 5 minutes.
Pairing Your Pie
A scoop of vanilla bean ice cream is my preferred accompaniment. That interplay of cold cream and piping hot, bubbling apples is the highlight of this Iron Skillet Apple Pie.
If you're looking for something less sweet, try a dollop of Greek yogurt or a touch of salted caramel. This is a decadent treat, so avoid serving it alongside other heavy cakes. To follow a traditional Southern custom, add a slice of sharp cheddar cheese to balance the sugar.
There you have it your game plan. Just remember to use chilled butter and press the apples down firmly. Trust me, the rest is a breeze.
Recipe FAQs
Can you cook an apple pie in a cast iron skillet?
Yes, it is a great tool for this dessert. The heavy metal distributes heat evenly to crisp the bottom and edges.
Does a metal pan other than cast iron work for this recipe?
Yes, most metal baking pans will work. You might just lose the rustic look and specific heat retention of the iron.
What makes this apple pie taste so professional?
Firmly pressing the apples into the pan eliminates air pockets, ensuring a thick, jammy consistency. For more tips on managing texture, take a look at our keto beef stew.
How to prepare the apple filling?
Toss sliced apples with sugar, cornstarch, cinnamon, nutmeg, and salt. Stir in melted butter until the fruit looks glossy.
Is it true that you must use a springform pan for easy removal?
Actually, no. A cast iron skillet provides a sturdy base and a beautiful presentation that doesn't require a removable side.
Do I need to pre-cook the apples to prevent them from being hard?
False. Baking them for 45 minutes at 375°F softens the Granny Smith slices perfectly.
Which method creates the best crumb topping?
Work cold cubed butter into the flour, brown sugar, and cinnamon using your fingertips. Stop when the mixture looks like coarse crumbs the size of peas.
Why should I avoid the microwave when reheating leftovers?
Microwaves make the crumb topping soggy. Use the oven at 300°F for 10 minutes to keep the crust crisp.
Iron Skillet Apple Pie