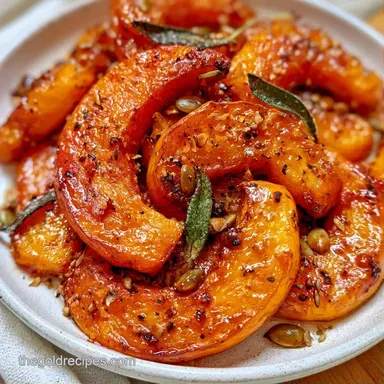
Maple-Roasted Fall Squash Side Dish
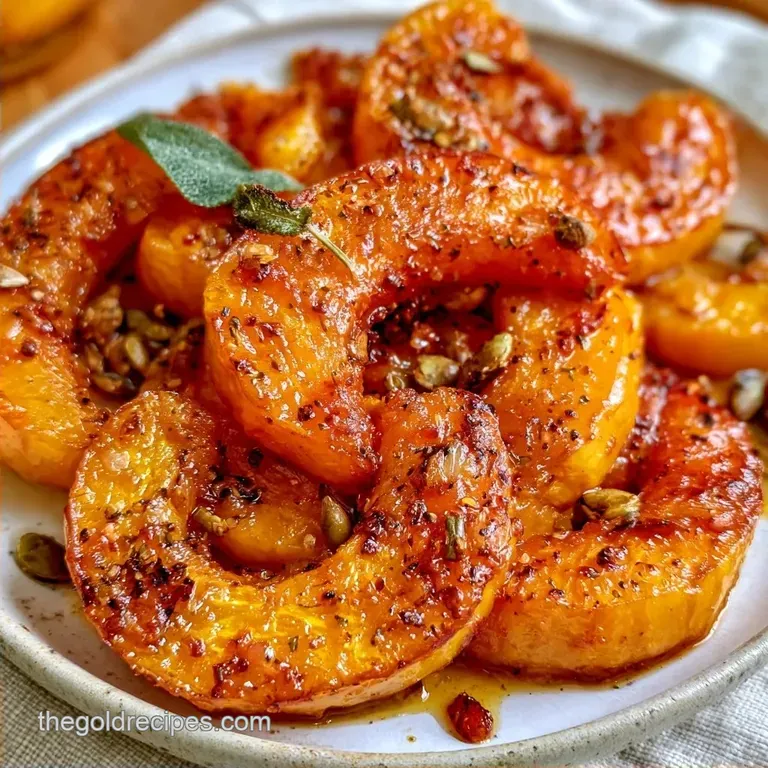
- Time: 10 min active + 25 min cooking
- Flavor/Texture Hook: Crispy browned edges with a velvety center
- Perfect for: Thanksgiving dinner, cozy Sunday roasts, or vegetarian meal prep
The smell of browning butter and fried sage hitting the air is basically a signal that autumn has arrived. I used to treat squash like a chore, boiling it into a mushy mess or roasting it at low temperatures that left it tasting bland.
Everything changed when I stopped being afraid of the heat and started treating the vegetable like a steak.
The butternut squash is the hero here because its natural starches convert to sugar at high temperatures. Other squashes can work, but butternut has the right density to hold a crescent shape while getting those deep, mahogany edges. It's the only choice for a side that needs to feel substantial.
You can expect a dish that doesn't just sit on the plate. This Fall Squash Side Dish provides a contrast between the shattering crunch of toasted pepitas and the soft, caramelized squash. It's fast, vibrant, and honestly steals the show from the main protein.
Why The Heat Matters
- The Crowd Factor: Piling squash on a tray creates steam, not a sear. Giving each piece space lets the dry heat evaporate moisture and brown the edges.
- Timing the Sugar: Adding maple syrup too early burns the sugar before the squash is tender. Glazing at the end ensures the sweetness caramelizes without turning bitter.
The high oven temperature breaks down the cell walls quickly, locking in the moisture inside while scorching the outside. It creates a textural contrast that over low heat roasting simply can't touch.
The Roast Specs
Since I'm obsessed with how different tools change a vegetable, I've compared the classic oven method with an air fryer. Both work, but the result varies based on how the air moves.
| Method | Cook Time | Result | Best For |
|---|---|---|---|
| Oven Roast | 25 minutes | Even browning, large batches | Holiday crowds |
| Air Fryer | 15 minutes | Extra crispy, smaller portions | Quick weeknight sides |
The oven is my go to for this Fall Squash Side Dish because you can fit enough for six people on one sheet. Just remember to use a large tray so you don't accidentally steam the veg.
Choosing Your Ingredients
Butternut squash provides a creamy base that absorbs the maple glaze. The fresh sage adds an earthy, piney note that cuts through the sugar. Pepitas bring the magic, adding a nutty snap to every bite.
For the glaze, melted butter is non negotiable. It carries the sage flavor and helps the maple syrup cling to the squash instead of pooling at the bottom of the pan. A splash of lemon juice at the end wakes up all the heavy flavors.
Substitution Guide
| Original Ingredient | Substitute | Why It Works |
|---|---|---|
| Butternut Squash | Acorn Squash | Similar sweetness. Note: Cut into wedges instead of crescents |
| Pure Maple Syrup | Honey | Similar viscosity and sweetness. Note: Honey burns faster, watch the timer |
| Fresh Sage | Dried Sage | Same earthy profile. Note: Use 1 tsp instead of 1 tbsp |
| Raw Pepitas | Sliced Almonds | Adds a similar crunch. Note: Almonds brown faster than seeds |
Essential Kitchen Tools
- Large Rimmed Baking Sheet: Essential for preventing oil drips.
- Parchment Paper: Stops the maple glaze from gluing the squash to the pan.
- Large Mixing Bowl: For tossing the squash without making a mess.
- Whisk: To emulsify the butter and syrup.
- Sharp Chef's Knife: Necessary for slicing consistent 1/2 inch crescents.
The Cooking Process
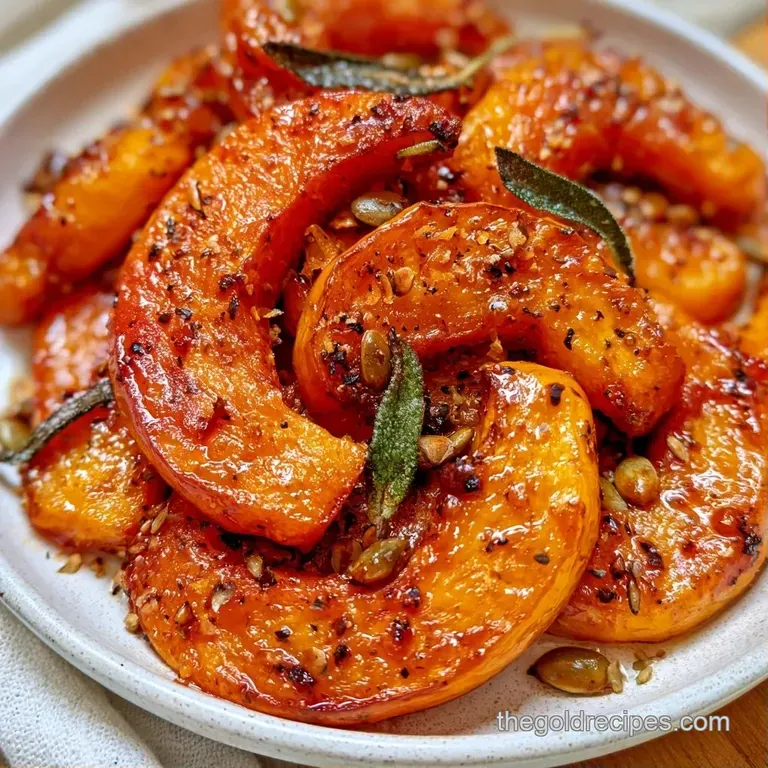
- Set your oven to 425°F (218°C) and prepare a large rimmed baking sheet by lining it with parchment.
- In a large mixing bowl, coat the butternut squash crescents in olive oil, salt, and pepper.
- Arrange the squash pieces across the baking sheet, making sure they do not overlap. Note: Keep them separate to prevent steaming.
- Bake on the center rack for 15-20 minutes until the centers are soft and edges are a deep golden brown.
- While roasting, whisk together the minced sage, melted butter, and maple syrup.
- Take the pan out of the oven and pour the maple sage glaze evenly over the squash.
- Scatter the raw pepitas across the top of the pieces.
- Put the pan back in the oven for 5 minutes until the glaze bubbles and the pepitas are toasted.
- Remove from the oven and immediately finish with a drizzle of lemon juice.
Fixing Common Problems
Squash is too Mushy
This usually happens if you sliced the pieces too thin or crowded the pan. The moisture gets trapped and boils the squash. Use a consistent 1/2 inch thickness and leave a gap between every piece.
The Glaze is Burning
If your glaze turns black instead of mahogany, your oven might be running hot or the syrup is too thick. Keep a close eye on the final 5 minutes and pull the tray out the second you smell toasted sugar.
Pepitas are Raw
Sometimes the seeds don't toast if they're buried under the squash. Give the pan a little shake before the final roast or toss the seeds in the glaze before sprinkling.
Plating Your Dish
This Fall Squash Side Dish is versatile. If you're serving it with Chicken Piccata, the lemon in the chicken complements the maple sweetness perfectly.
I like to present this in three different ways depending on who's coming over.
| Level | Presentation | Tweak |
|---|---|---|
| Simple | Sheet pan to table | Serve directly on the parchment |
| Polished | Flat platter | Arrange crescents in a circle with fresh sage leaves |
| Restaurant | Vertical stack | Pile squash high and drizzle extra glaze on top |
For a high end look, I always add a few raw sage leaves at the very end for a pop of green against the orange.
Storage and Reheating
Store any leftovers in a glass container in the cooler for about 72 hours. To reheat, avoid the microwave as it makes the squash soggy. Instead, pop them back in the oven at 350°F (180°C) for 10 minutes or use an air fryer for 3 minutes to bring back the crisp.
Don't throw away the squash skin if you have a high powered blender. You can roast the peels separately and blend them into a stock, or if you have a lot of extra veg, my Butternut Squash Soup recipe is a winner.
Swaps and Variations
Try these simple modifications to customize your Fall Squash Side Dish.
- The Vegan Option: Replace the butter with melted coconut oil for a hint of tropical flavor that complements the maple.
- Savory Garlic Twist: Omit the maple syrup and instead use 3 minced garlic cloves and a dash of smoked paprika.
- The Delicata Choice: Substitute with delicata squash. Since the skin is edible, you can skip peeling and save 10 minutes of preparation.
- For extra crunch
- Dry-toast the pepitas in a pan for 2 minutes before mixing them in.
- For a brighter taste
- Use twice the lemon juice and a small pinch of sumac.
- For more depth
- Stir 1/2 teaspoon of cinnamon into the oil before tossing.
This dish is proof that vegetables can be exciting. With the right heat and glaze timing, this side becomes a real highlight of the meal. Once you experience those caramelized edges, you'll likely forget all about boiling your squash.
Recipe FAQs
How do I cut butternut squash easily?
Slice the squash in half lengthwise and scoop out the seeds. Peel the skin and cut the neck into half inch crescents.
Is roasting the best method for this side dish?
Roast at 425°F for 15-20 minutes to achieve deep golden edges. This high heat caramelizes the natural sugars for a richer flavor.
What main course pairs best with this squash?
Serve this alongside a savory protein like slow cooked chicken. The maple glaze balances the salty sun-dried tomatoes perfectly.
Is it true that I must boil butternut squash before roasting?
No, this is a common misconception. Roasting raw crescents at 425°F ensures they stay tender without becoming mushy.
Maple Roasted Fall Squash Side Dish