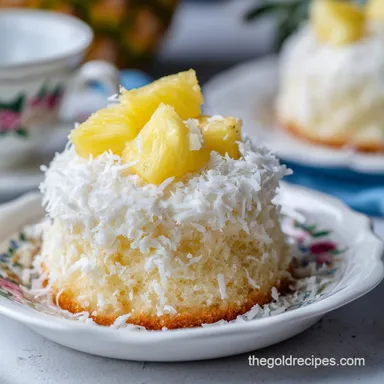
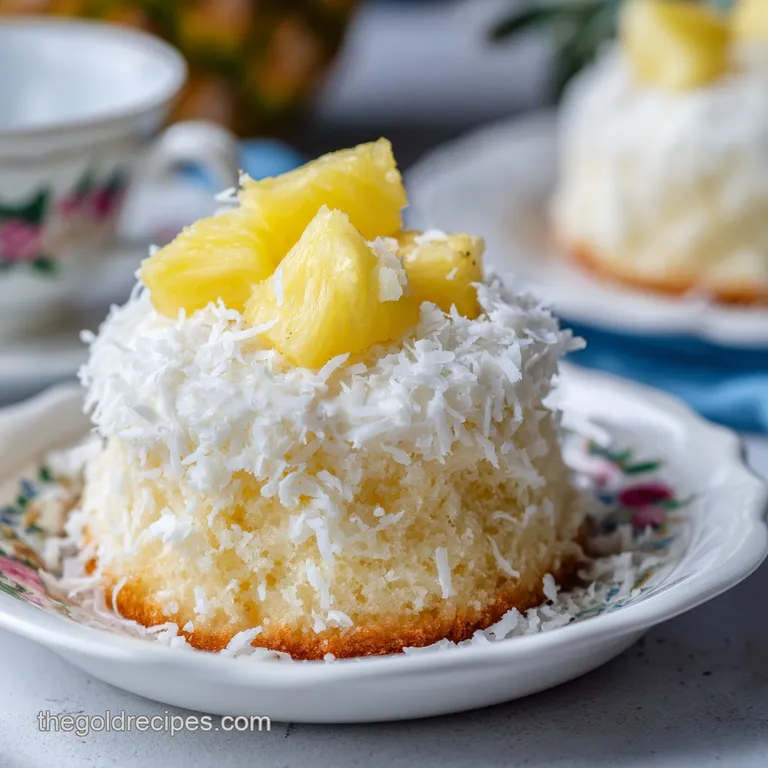
Irresistible Hawaiian Coconut Cake: Velvety and Rich
- Time:20 minutes active + 35 minutes baking + 2 hours chilling = Total 2 hours 55 mins
- Flavor/Texture Hook: Velvety coconut sponge with a shatter like crunch from toasted macadamias
- Perfect for: Special occasions, tropical themed parties, or an impressive weekend project
- The Common Pitfalls of Tropical Baking
- The Hard Numbers: Timing Your Tropical Bake
- Component Analysis: Breaking Down the Coconut Chemistry
- The Essential Gear for a Level Bake
- Step-by-Step Execution for a Velvety Finish
- Fixing Common Texture and Frosting Failures
- Customizing Your Cake for Different Tastes
- The Truth About Baking Traditions
- Keeping Your Slices Fresh and Waste Free
- The Best Pairings for a Tropical Feast
- Recipe FAQs
- 📝 Recipe Card
The Common Pitfalls of Tropical Baking
Imagine that moment when the oven door opens and a cloud of toasted coconut and warm vanilla hits you right in the face. It's a scent that immediately transports you to a beach in Oahu. But for most of us, the reality of making an irresistible hawaiian coconut cake is often a struggle with dryness.
We've all been there, biting into a slice that feels more like a sponge for water than a dessert, or dealing with a frosting that slides off the cake like a melting glacier.
Forget everything you've heard about needing professional bakery equipment or "secret" Hawaiian flours to get that authentic texture. The biggest myth in tropical baking is that you need to add pineapple juice to the batter for moisture.
In reality, adding too many acidic juices can break down the gluten structure, leaving you with a cake that collapses in the center. The real secret is the fat content of the coconut milk and the temperature of your emulsion.
I used to think the "wedding cake" style texture came from adding extra butter, but I was wrong. After decoding several viral copycat versions, I realized it's all about how the fats interact.
When you use full fat canned coconut milk instead of the carton version, you're introducing a different kind of saturation that locks in moisture. This is the key to getting that Halekulani style density without the cake feeling heavy. Trust me on this, the difference is night and day.
The Hard Numbers: Timing Your Tropical Bake
When you're tackling a project like this, timing isn't just a suggestion, it's the chemistry that keeps the cake from sinking. I've found that most people rush the cooling process, which is exactly why their frosting turns into a soup. You cannot frost a warm cake, period.
If the sponge is even slightly lukewarm, the butter in the cream cheese frosting will lose its grip and slide right off.
The total time of 2 hours 55 mins might look daunting, but most of that is passive. The 2 hours of chilling is non negotiable. This is where the "magic" happens, as the fats in the frosting stabilize and the coconut milk in the sponge settles.
It transforms the cake from a loose assembly of layers into a cohesive, sliceable masterpiece.
Below is a quick guide to help you decide how much to make based on your crowd. Whether you're feeding a small family or a whole party, these adjustments keep the ratios intact.
| Servings | Ingredient Adjustments | Pan Size | Cook Time |
|---|---|---|---|
| 4 people | 1 layer, half ingredients | One 8 inch pan | 25-30 minutes |
| 12 people | Full recipe | Two 8 inch pans | 35 minutes |
| 24 people | 2x ingredients | Four 8 inch pans | 35 minutes (batch bake) |
Right then, let's look at why this specific combination of ingredients actually works.
Component Analysis: Breaking Down the Coconut Chemistry
I like to look at baking as a series of chemical reactions. To get that irresistible hawaiian coconut cake texture, we have to manage the interaction between the fats and the leavening agents. If you just throw ingredients in a bowl, you get a generic cake. If you manage the mechanisms, you get a professional result.
Fat Saturation: Full fat canned coconut milk provides a denser lipid structure than cow's milk, which creates a more velvety mouthfeel and prevents the sponge from drying out during the 35 minute bake.
Air Incorporation: Beating the butter and sugar for exactly 3 minutes creates a specific network of micro bubbles. These bubbles are what the baking powder expands into, giving the cake its lift without making it "airy" or fragile.
Protein Binding: Using room temperature eggs ensures the emulsion doesn't "break." When cold eggs hit softened butter, the butter clumps, and you lose that smooth, consistent crumb.
Stabilized Frosting: The combination of chilled cream cheese and softened butter creates a high viscosity frosting. This acts as a structural adhesive, holding the weight of the shredded coconut and macadamia nuts.
To give you a better idea of how these elements play together, I've mapped out the specific roles of the key ingredients.
| Ingredient | Science Role | Pro Secret |
|---|---|---|
| Canned Coconut Milk | Hydration & Lipid Source | Shake the can well to reintegrate the coconut cream |
| Cream Cheese | Structural Stabilizer | Keep it chilled until the very second you beat it |
| Macadamia Nuts | Textural Contrast | Toast them at 175°C for 5 mins for a shatter like crunch |
| Powdered Sugar | Moisture Absorbent | Sift it to avoid "sugar pockets" in the frosting |
The Essential Gear for a Level Bake
You don't need a laboratory, but a few specific tools make this process a lot smoother. I've found that using parchment paper is a total life saver. I once had a beautiful coconut cake stick to the pan, and I spent twenty minutes trying to "surgery" it out with a knife. Don't be like me.
A stand mixer is great, but a hand mixer works just as well as long as you don't skip the 3 minute fluffing stage. The most important tool, however, is a wire cooling rack. If you leave the cakes in the pan too long, the bottoms steam and become soggy. If you put them on a flat counter, the bottom doesn't breathe.
A rack ensures 360 degree airflow.
For the assembly, a simple offset spatula is your best friend. It allows you to get those smooth, clean lines on the sides of the cake. If you don't have one, a butter knife can work, but it takes a bit more patience to get that professional look.
Step-by-step Execution for a Velvety Finish
Let's crack on with the actual build. Pay close attention to the sensory cues - the colors and sounds are often more accurate than the timer.
Phase 1: Crafting the Moist Sponge
- Preheat your oven to 175°C (350°F). Grease two 8 inch round cake pans and line the bottoms with parchment paper. Note: This prevents the cake from sticking regardless of how well you grease.
- Beat the 170g of softened butter and 300g of granulated sugar. Do this for approximately 3 minutes until the mixture looks pale and fluffy.
- Add the 4 room temperature eggs one at a time. Once the eggs are in, stir in 10ml of vanilla extract and 5ml of coconut extract, mixing until the batter is fully emulsified and smooth.
- Now, the alternating step. Add your dry ingredients (310g flour, 12g baking powder, 3g salt) and the 240ml of full fat coconut milk in turns. Start and end with the flour, mixing until just combined. Note: Do not overmix here or the cake will be tough!
- Divide the batter evenly between your two pans. Bake for 30-35 minutes until a toothpick inserted in the center comes out clean.
- Let the cakes cool in their pans for exactly 10 minutes. Then, transfer them to a wire rack to cool completely.
Phase 2: The Tropical Assembly
- Beat the 225g of chilled cream cheese and 115g of softened butter together. Work them until the texture is smooth and no lumps remain.
- Gradually mix in 480g of sifted powdered sugar, 45ml of heavy cream, 5ml of coconut extract, and a pinch of salt. Mix until the frosting is stiff and spreadable.
- Place the first cake layer on your serving plate. Spread a thick, generous layer of frosting over the top. Top with the second cake layer.
- Frost the remaining top and sides of the cake. Use your spatula to create a smooth surface.
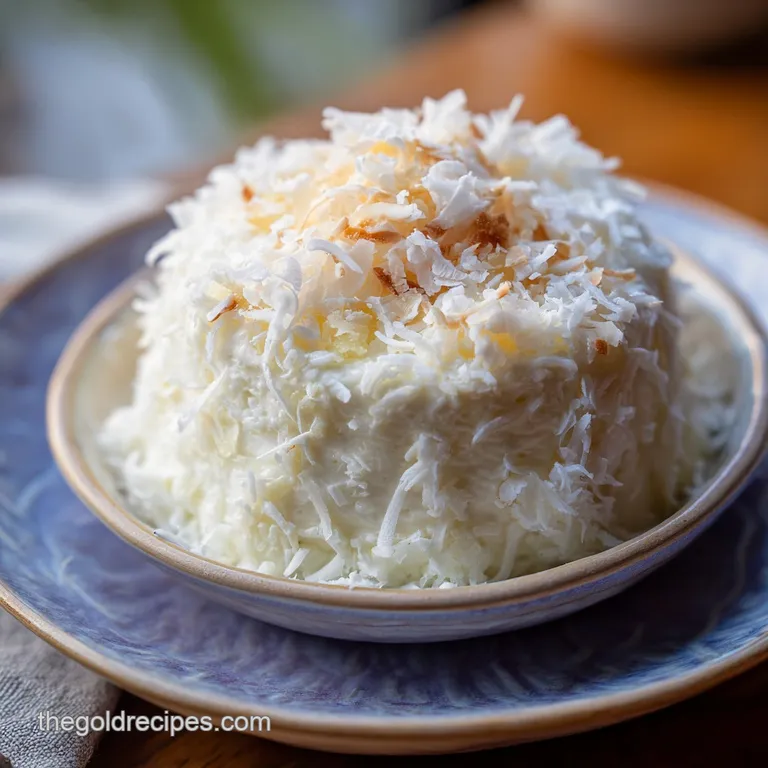
- Garnish the entire cake with 150g of unsweetened shredded coconut and 60g of crushed toasted macadamia nuts, pressing them gently into the frosting.
- Chill the cake in the fridge for 2 hours. This is the most critical step for structural integrity before you attempt to slice it.
Fixing Common Texture and Frosting Failures
Even the best of us hit a snag sometimes. Most cake failures aren't about the ingredients, but about the temperature. If your cake feels a bit off, it's usually a fixable chemistry issue.
Why Your Cake Feels Dry
Usually, this is a result of "over baking" by just 2 or 3 minutes. Because coconut milk has a high fat content, the cake might look done on the outside while the inside is still setting. If you overdo it, the moisture evaporates.
| Problem | Root Cause | Solution |
|---|---|---|
| Dry, crumbly sponge | Overbaked by 5+ mins | Remove 2 mins earlier next time |
| Dense, heavy layers | Overmixing the batter | Stop mixing as soon as flour disappears |
| Uneven rise | Oven hot spots | Rotate pans halfway through baking |
Why Your Frosting Is Too Soft
If your frosting is sliding, it's almost always because the butter was too soft or the cake was too warm. The emulsion breaks, and the frosting loses its "grip."
| Problem | Root Cause | Solution |
|---|---|---|
| Sliding frosting | Cake was still warm | Cool cakes for 2+ hours before frosting |
| Runny consistency | Butter was melted, not softened | Chill frosting for 15 mins, then re beat |
| Grainy texture | Powdered sugar wasn't sifted | Sift sugar through a fine mesh strainer |
Common Mistakes Checklist
To make sure your next batch is flawless, keep these checks in mind:
- ✓ Ensure eggs are truly room temperature to prevent butter clumping.
- ✓ Sift your powdered sugar to avoid those annoying white lumps.
- ✓ Use a timer for the 3 minute butter/sugar creaming stage.
- ✓ Never skip the 2 hour final chill in the refrigerator.
- ✓ Use a parchment paper circle at the bottom of the pans.
Customizing Your Cake for Different Tastes
Once you've mastered the base, you can start hacking the flavor profile. One of my favorite ways to tweak this is by adding a bit of acidity to cut through the richness of the coconut.
If you want a more complex flavor, try replacing the vanilla extract with a splash of dark rum. It gives the cake a "tropical punch" vibe that's incredible for adult parties. For those who love a bit more fruit, you can add a thin layer of pineapple preserves between the two cake layers.
Just make sure the preserves are thick so they don't leak out the sides.
For a lighter, frozen treat that echoes these tropical notes, try my Ninja Creami Dole Whip recipe. It's a great way to serve a refreshing side alongside a rich slice of cake.
If you're looking for a dairy-free version, you can swap the butter for a high-quality vegan butter stick and use a coconut based cream cheese. Just be warned that the structure will be slightly softer, so you'll definitely need that 2 hour chill, and maybe even a bit longer.
The Truth About Baking Traditions
There are a few things people tell you about coconut cakes that are just flat out wrong. I've spent enough time in the kitchen to know that some "traditional" tips actually hinder the result.
First, some people say you should use fresh grated coconut inside the batter. Honestly, don't do it. Fresh coconut is too heavy and holds too much moisture, which often leads to "soggy pockets" in the sponge. Stick to the coconut milk for the interior and save the shredded coconut for the outside.
Second, you'll hear that sifting flour is a waste of time. In a standard chocolate cake, maybe. But in a coconut cake, the fats are heavier, and flour clumps can easily hide in the batter, leading to those weird white streaks in your final slice. Sift your flour; it takes 30 seconds and saves the cake.
Keeping Your Slices Fresh and Waste Free
This cake actually tastes better the second day because the coconut flavors have more time to meld. Store your slices in an airtight container in the fridge for up to 5 days. When you're ready to eat, let a slice sit at room temperature for about 15 minutes.
This allows the butter in the frosting to soften slightly, giving you that velvety texture again.
If you have a half cake left, you can wrap the remaining portion tightly in plastic wrap and freeze it for up to 3 months. To thaw, move it to the fridge overnight. Avoid microwaving it, as that will melt the cream cheese frosting instantly.
As for zero waste, don't throw away the leftover coconut milk in the can. It's a goldmine for other recipes. I usually pour the remainder into a jar and use it to make a quick coconut curry or a creamy vegan soup.
Even the macadamia nut shells can be dried and used as a natural mulch for acid loving garden plants like blueberries.
The Best Pairings for a Tropical Feast
A cake this rich needs a bit of balance. I usually suggest something with a bit of acidity or a light, fruity profile to keep the palate fresh. A simple platter of fresh mango slices and lime wedges is the perfect companion here.
If you're planning a massive dessert spread, this pairs nicely with the bold flavors of a Texas Sheet Cake. While one is tropical and light, the other is deep and chocolatey, giving your guests a great variety of textures and tastes.
Alternatively, serve a slice with a small cup of strong, unsweetened black coffee. The bitterness of the coffee cuts right through the sweetness of the cream cheese frosting and highlights the nuttiness of the macadamias. Trust me, it's a game changer for your dessert game.
Recipe FAQs
Why must eggs be room temperature?
They prevent the butter from clumping. Using cold eggs breaks the emulsion, which can lead to a denser, uneven crumb.
How to prevent the cake from sticking to the pan?
Grease the pans and line the bottoms with parchment paper. This ensures a clean release and prevents the cake from tearing during transfer.
How to get the batter pale and fluffy?
Beat the softened butter and granulated sugar for exactly 3 minutes. This specific timing incorporates enough air to create a light, velvety texture.
Is it true the cake is ready to slice as soon as it is frosted?
No, this is a common misconception. You must chill the cake for 2 hours to ensure structural integrity before slicing.
How to avoid lumps in the cream cheese frosting?
Sift the powdered sugar before mixing. This removes stubborn clumps and results in a smooth, spreadable finish.
Can I substitute the canned coconut milk with a thinner version?
No, stick with full fat canned coconut milk. The high fat content is essential for the cake's richness. If you enjoy this decadent profile, see how we use similar richness in our rich cake.
How to ensure the cake layers are level?
Divide the batter evenly between the two 8 inch pans. Use a kitchen scale or a measuring cup to ensure each pan has the exact same amount of batter.
Irresistible Hawaiian Coconut Cake