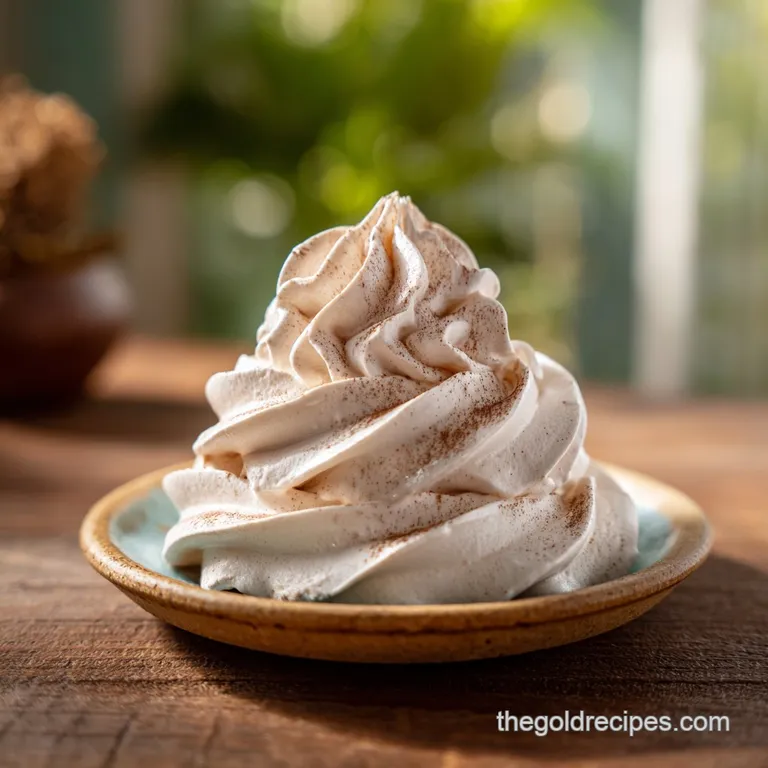
Ninja Creami Protein Ice Cream Recipe: Chocolate Gelato
- Time: Active 5 minutes, Passive 24 hours, Total 24 hours 5 mins
- Flavor/Texture Hook: Silky smooth chocolate with a dense, fudgy mouthfeel
- Perfect for: Post workout recovery or late night fitness friendly cravings
- How to Create the Perfect Ninja Creami Protein Ice Cream Recipe
- The Physical Science of Micro Shaving Frozen Protein Bases
- Performance Benchmarks for Your High Protein Frozen Creation
- Selecting Quality Components for Optimal Macro Friendly Results
- Essential Culinary Tools for Achieving a Velvety Spin
- Detailed Workflow for Crafting Your Custom Protein Pint
- Professional Techniques for Resolving Texture and Flavor Issues
- Creative Flavor Variations for Every Fitness Goal and Craving
- Strategic Guidelines for Long-Term Storage and Freshness
- Nutrient Dense Accoutrements to Finish Your Protein Treat
- Ninja Creami Protein Ice Cream FAQs
- 📝 Recipe Card
How to Create the Perfect Ninja Creami Protein Ice Cream Recipe
Right then, let's talk about the first time I tried making "healthy" ice cream. I froze a protein shake in a plastic tub, hacked at it with a spoon ten hours later, and ended up eating what can only be described as flavored gravel. It was depressing.
My kitchen smelled like wet cardboard and artificial sweetener, and I almost gave up on the idea of a fit friendly dessert entirely. Then I found this specific method, and honestly, it changed the way I look at my macros.
The beauty of this ninja creami protein ice cream recipe isn't just the protein count; it's the fact that it doesn't taste like a compromise. When you peel back that lid after the first spin, you aren't greeted by ice crystals.
Instead, you get this dense, velvety texture that rivals any premium pint you'd find in a boutique shop. We've spent months tweaking the stabilizers and the milk choices to get this just right, moving past the watery messes of the past.
We're going for a deep, rich chocolate profile here. I remember the first successful batch the scent of the unsweetened cocoa powder mingling with the vanilla extract as I whisked it up. It felt like I was making a real ganache, not a diet food.
You'll want to make sure your freezer is set to a proper temperature because that 24 hour wait is the only hard part of this whole process. Trust me, the patience pays off when you hear that machine start its final, smooth whirr.
The Physical Science of Micro Shaving Frozen Protein Bases
Micro Crystallization Control: The Ninja machine uses a downward drilling blade to shave microns thin layers off a solid frozen block, turning ice into a fine snow that emulsifies with fat.
This prevents the "icy" mouthfeel common in home frozen treats because the crystals are too small for your tongue to detect.
Casein Suspension: Using a whey casein blend is vital because casein molecules are larger and trap more water, creating a thicker, more stable structure than whey alone. This prevents the ice cream from melting into a thin liquid the second it hits the bowl.
| Method | Time Investment | Final Texture | Nutritional Control |
|---|---|---|---|
| Ninja Creami | 24 hours freeze | Velvety, dense gelato style | Total control over sugar/protein |
| Traditional Churn | 45 minutes churn | Airy, soft serve style | Hard to stabilize low-fat bases |
| store-bought Pint | 0 minutes | Soft and fluffy | Often high in sugar alcohols |
It is worth noting that the mechanical force applied during the spin cycle is what actually creates the emulsion. If you’ve ever enjoyed a Chocolate Peanut Butter recipe in smoothie form, you know how important that thick consistency is for satisfaction. This recipe takes that thickness and dials it up through sheer physics.
Performance Benchmarks for Your High Protein Frozen Creation
To get the most out of your machine and ingredients, you need to hit specific numbers. I’ve found that even a few degrees of difference in your freezer can turn a smooth spin into a powdery mess. We want a solid freeze, not a soft one.
| Ingredient | Science Role | Pro Secret |
|---|---|---|
| Fairlife 2% | Primary fat/protein source | Filtered milk has half the sugar of regular milk |
| Guar Gum | Viscosity agent | Prevents "ice milk" texture by binding free water |
| Sea Salt | Flavor enhancer | Sharpens the cocoa notes and suppresses bitterness |
Chef's Tip: Freeze your empty pint for 15 minutes before filling it with the room temperature base to prevent the bottom from staying liquid too long.
Selecting Quality Components for Optimal Macro Friendly Results
We aren't just throwing things in a jar here. Every element in this ninja creami protein ice cream recipe serves a purpose. I used to think any milk would do, but then I realized the sugar content in standard cow's milk actually interferes with the freezing point in a way that makes protein ice cream feel "thin."
- 1.5 cups Fairlife 2% Ultra Filtered Milk: Why this? Higher protein and lower sugar content create a much creamier frozen structure. (Substitute: Unsweetened soy milk for a similar protein profile)
- 1 scoop (32g) Whey Casein blend: Why this? Casein provides the "stretch" and thickness that whey alone lacks. (Substitute: Pure whey, but add an extra 0.25 tsp of guar gum)
- 1 tbsp unsweetened cocoa powder: Why this? Adds deep color and natural polyphenols without extra calories. (Substitute: Cacao powder for a more bitter, earthy vibe)
- 0.25 tsp guar gum: Why this? This is the secret to that "commercial" ice cream stretch. (Substitute: Xanthan gum, though it can feel slightly "slimy")
- 1 tsp pure vanilla extract: Why this? Rounds out the chocolate flavors and provides a nostalgic aroma. (Substitute: Vanilla bean paste for fancy flecks)
- 1 pinch sea salt: Why this? Electrolytes that make the sweet flavors "pop" on the palate. (Substitute: Table salt, use half the amount)
- 2 tbsp monk fruit sweetener: Why this? 1:1 sugar replacement that doesn't have a cooling aftertaste. (Substitute: Stevia or Erythritol)
If you find yourself craving something even more decadent after a hard training session, you could even crumble a bit of a Levain Cookie Copycat recipe into the mix during the "add in" phase.
Essential Culinary Tools for Achieving a Velvety Spin
You don't need a professional kitchen, but the right gear makes this foolproof. The most important thing is the pint itself. Always keep a spare in the freezer because you'll never want to wait 24 hours once you finish your first batch.
- Ninja Creami Machine: The heart of the operation.
- Official Ninja Pint: Ensure it’s clean and the bottom is flat.
- Small Hand Whisk: Essential for getting the cocoa powder clumps out.
- Digital Scale: 32g of protein powder can look very different depending on the brand's scoop size.
- Small Rubber Spatula: To scrape every last bit of the base into the pint.
Detailed Workflow for Crafting Your Custom Protein Pint
- Combine the liquids. Pour the 1.5 cups of Fairlife milk into a large mixing bowl or directly into the pint if you're careful.
- Whisk in powders. Add the 32g protein powder, 1 tbsp cocoa, and 0.25 tsp guar gum. Note: Adding the guar gum to the dry powder first prevents it from clumping into "fish eyes" in the milk.
- Sweeten and season. Stir in the 2 tbsp monk fruit, 1 tsp vanilla, and the pinch of salt. Whisk until the surface smells intensely of cocoa and no dry spots remain.
- Check the level. Ensure the liquid is below the "max fill" line on the pint.
- The Deep Freeze. Place the pint on a completely level surface in your freezer for 24 hours. Note: An unlevel pint will cause the machine to vibrate excessively and could damage the blade.
- The First Spin. Remove the pint from the freezer and place it in the outer bowl. Select "Lite Ice Cream" and let it run. Expect a loud, mechanical grinding sound; this is normal.
- Assess the texture. If the mixture looks like "dippin' dots" or dry sand, don't panic.
- The Respin. Add 1 tablespoon of extra milk to the center and hit the "Respin" button.
- Final Polish. Spin 1-2 more times until the texture looks glossy and shatters cleanly with a spoon.
- Serve immediately. Transfer to a chilled bowl to keep it from melting while you eat.
Professional Techniques for Resolving Texture and Flavor Issues
Most people give up on their ninja creami protein ice cream recipe because of one bad spin. Usually, it's just a temperature issue. If your freezer is too cold (below -18°C), the base will be too hard for the blade to emulsify in one go, leading to that "powdery" look.
Why Your Ice Cream is Crumbly
If the base is too cold or lacks fat, it won't come together. This is the most common hurdle for beginners. The "Respin" function is your best friend here. It uses the friction of the blade to slightly warm the outer layer of the ice crystals, allowing them to bond into a velvety mass.
| Problem | Root Cause | Solution |
|---|---|---|
| Powdery Texture | Base is too cold | Add 1 tbsp milk and Respin |
| Icy Top Layer | Slow freezing | Scrape off the top 2mm before spinning |
| Too Soft/Soup | High sugar/alcohol | Freeze for an extra 12 hours |
- ✓ Always use a level surface in the freezer to prevent "blade tilt."
- ✓ Let the pint sit on the counter for 5-10 minutes before spinning if your freezer is ultra cold.
- ✓ Don't skip the guar gum; it’s the only thing holding the water and protein together.
- ✓ Clean the underside of the machine lid after every single spin to prevent old dairy buildup.
- ✓ Use a whey casein blend for the best structural integrity.
Creative Flavor Variations for Every Fitness Goal and Craving
Once you've mastered the basic chocolate, you can branch out. For example, if you're into a more buttery flavor profile, you can skip the cocoa and add a tablespoon of powdered peanut butter. This creates a base that tastes remarkably like a high end candy bar.
| Premium Style | Budget Swap | Flavor Impact | Savings |
|---|---|---|---|
| Vanilla Bean Paste | Pure Vanilla Extract | Minimal, mostly visual | $15.00 |
| Casein Blend | Whey + Extra Gum | Slightly thinner feel | $10.00 |
| Fairlife Milk | Skim Milk + Splash Cream | Less protein, same fat | $3.00 |
If you want a truly decadent experience, try adding a broken up Fudgy Brownie Mix recipe cookie as a mix in. Just use the "Mix in" button after your final Respin to keep the chunks from being totally pulverized.
- For a "Moose Tracks" vibe: Swirl in a teaspoon of natural peanut butter after the spin.
- For extra crunch: Add cocoa nibs during the mix in phase for a bitter, snappy contrast to the sweet base.
- For a "Frosty" style: Use only whey protein and spin it once on "Lite Ice Cream" without a respin to keep it slightly more aerated.
Strategic Guidelines for Long Term Storage and Freshness
This ice cream is best eaten immediately. Unlike traditional ice cream, it doesn't have the high sugar and fat content to stay soft in the freezer after being spun. If you have leftovers, flatten the surface with a spoon so it's level, then freeze it again. You will need to re spin it next time you want to eat it.
Storage: Keep unspun pints for up to 2 weeks. Once spun, it's best consumed within 24 hours for the best texture. Zero Waste: If you have a batch that just won't turn creamy, toss it into a blender with a handful of spinach and some ice.
It makes a perfect base for a high protein smoothie. You can also use "failed" batches as a coffee creamer just drop a frozen cube into your hot morning brew for a mocha protein kick.
Nutrient Dense Accoutrements to Finish Your Protein Treat
To keep this a "fitness friendly" meal, I like to top mine with things that add texture without a massive calorie bomb. A sprinkle of puffed kamut or rice gives a great "crunch" factor. If you're feeling fancy, a dollop of Greek yogurt mixed with a little stevia can act as a high protein "whipped cream" topper.
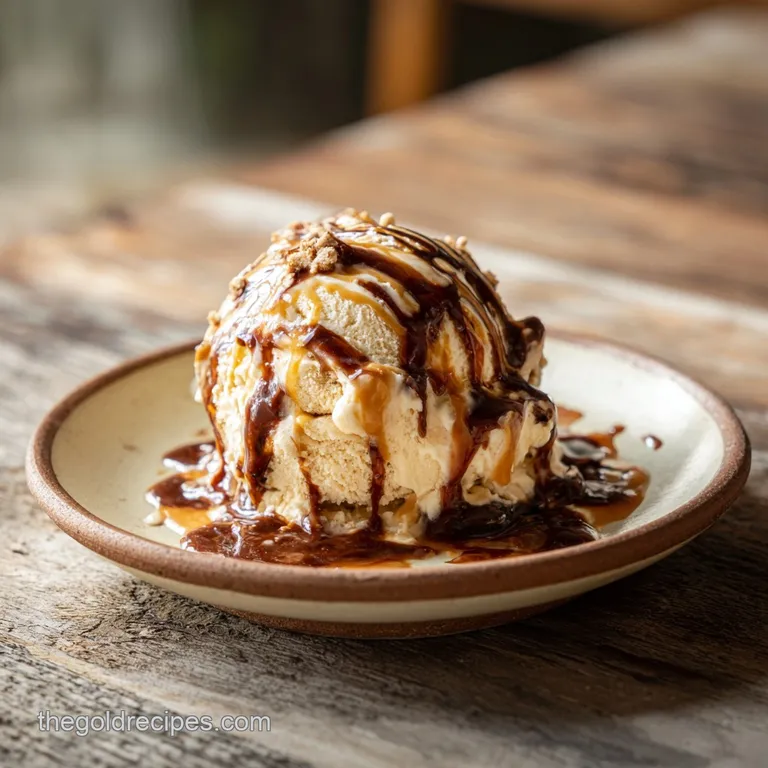
If you’re hosting friends who aren’t as calorie conscious, you can always serve this alongside a Crumbl Sugar Cookie recipe to give them the full dessert experience while you stick to your goals. The contrast between the cold, dark chocolate ice cream and a sweet, buttery cookie is honestly hard to beat. Just remember, the star of the show is the pint you spent 24 hours waiting for! Let's get spinning.

Ninja Creami Protein Ice Cream FAQs
Can you use protein powder in Ninja Creami?
Yes, it is essential for this recipe. Use a whey casein blend for the best texture, as casein traps more water, preventing an overly icy final product.
Why don't we recommend the Ninja Creami for standard protein shakes?
No, it turns them into flavored gravel when frozen unprepared. The machine needs a dense, solid frozen base to micro shave; pouring a liquid shake results in poor incorporation.
Is it cheaper to make my own protein ice cream?
Yes, significantly cheaper per serving over time. While the initial ingredient cost is higher than a store-bought pint, the cost per ounce for quality protein powder is much lower.
Can you freeze a protein shake to make it like ice cream?
No, not directly without the Creami machine. Freezing a plain shake creates large ice crystals that result in a hard, unusable block of flavored ice.
How long does the base need to freeze before spinning?
Freeze the base for a minimum of 24 hours. This deep freeze allows the water molecules to stabilize, ensuring the Creami blade has solid material to process into a smooth texture.
What do I do if my first spin results in a crumbly texture?
Add one tablespoon of extra milk and hit the "Respin" button. This introduces necessary moisture to emulsify the dry particles created by the initial over frozen state.
How do I achieve a dense, non-watery texture?
Incorporate a stabilizer like guar gum. Use about 0.25 teaspoon per pint to bind the free water released by the protein powder during freezing.
Ninja Creami Protein Ice Cream
Ingredients:
Instructions:
Nutrition Facts:
| Calories | 163 kcal |
|---|---|
| Protein | 22.3 g |
| Fat | 4.2 g |
| Carbs | 8.3 g |
| Fiber | 1.4 g |
| Sugar | 4.5 g |
| Sodium | 295 mg |
