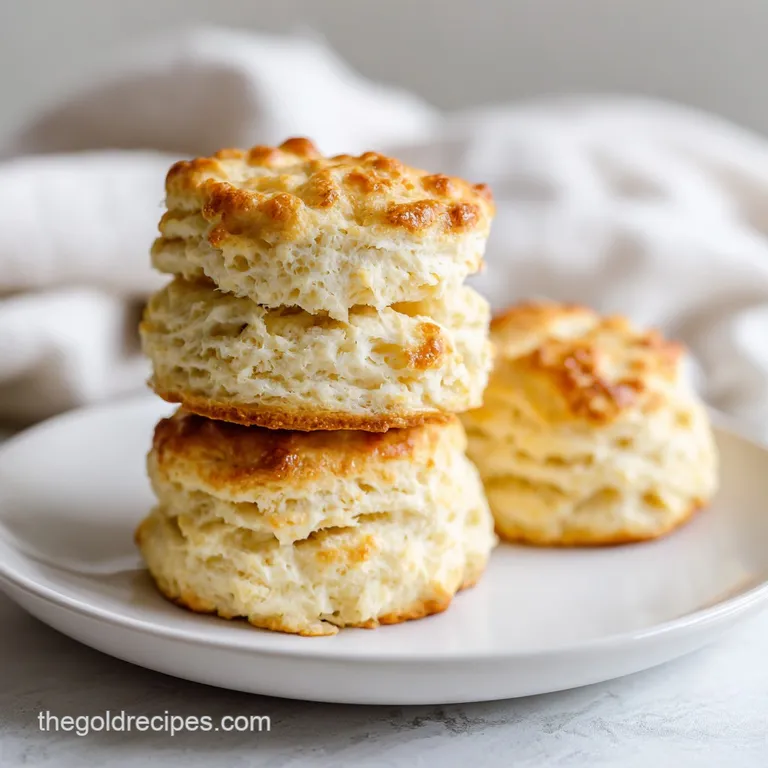
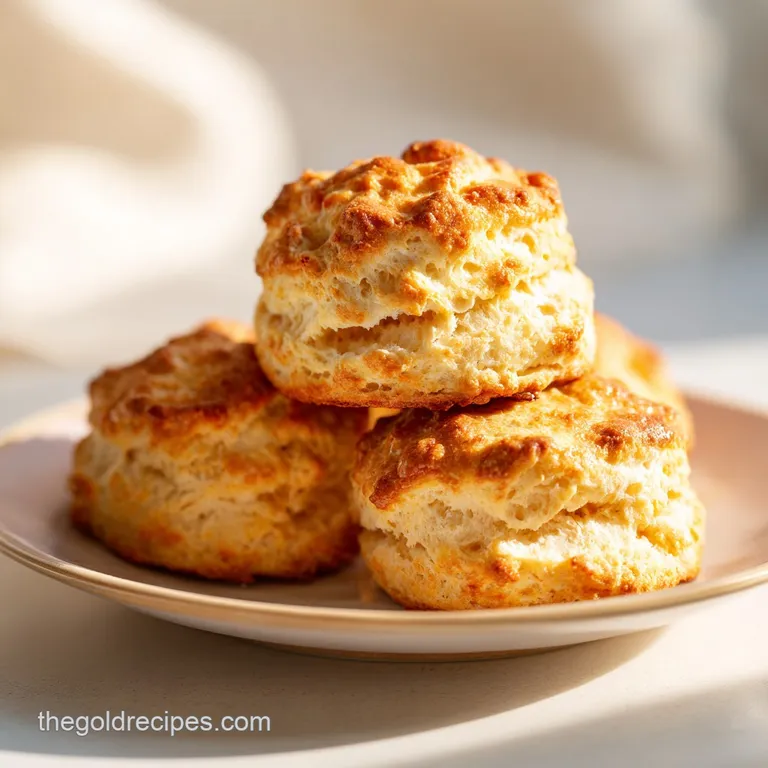
Golden Homemade Biscuits: Flaky and Buttery
- Time: Active 20 minutes, Passive 0 minutes, Total 35 minutes
- Flavor/Texture Hook: Flaky, buttery layers with a shatter crisp golden top.
- Perfect for: Weekend brunch or a high end side for fried chicken.
Decoding the Physics of Flakiness
The success of these Golden Homemade Biscuits relies on a concept I call thermal expansion. When you put a cold biscuit into a 218°C oven, the water inside the butter turns into steam almost instantly.
Because the butter is trapped between layers of flour, that steam pushes the dough upward, creating those distinct, flaky gaps we all crave.
- Steam Generation: Frozen butter bits contain water that evaporates rapidly at high temperatures, forcing the dough to rise vertically.
- Gluten Suppression: Cold ingredients prevent the proteins in the flour from bonding too tightly, which keeps the texture soft rather than bread like.
- Chemical Synergy: The reaction between the acidic buttermilk and the alkaline baking soda produces carbon dioxide, adding a secondary "lift" to the steam.
- Lamination Physics: Folding the dough creates physical barriers of fat that prevent the layers from fusing into a solid mass.
| Method | Finish Time | Internal Texture | Visual Cue |
|---|---|---|---|
| over High heat Bake | 15 minutes | Airy and separated | Mahogany brown tops |
| Standard Bake | 20 minutes | Dense and cakey | Pale yellow tops |
| Over Bake | 25 minutes | Dry and crumbly | Dark brown/burnt base |
The transition from a solid mass to a layered masterpiece is all about the "kissing" technique. When you place the biscuits on the tray so they are just touching, they are forced to rise upward instead of spreading outward.
This collective support system is a simple hack that adds at least half an inch of height to the final product.
Key Performance Metrics
Before we start mixing, let's look at why we chose these specific components. Every gram of flour and every milliliter of buttermilk has a job to do in this chemical equation. If you swap things out without knowing why, you might end up with a structural failure.
| Component | Science Role | Pro Secret |
|---|---|---|
| Frozen Butter | Moisture Source | Grate it frozen to maximize surface area without melting. |
| Buttermilk | Protein Relaxer | The acid breaks down gluten, ensuring a "short" and tender crumb. |
| Baking Powder | Primary Leavener | Provides the initial lift before the steam reaction takes over. |
| Sea Salt | Flavor Catalyst | Sharpens the perception of butter fat on the palate. |
You need to treat your kitchen like a lab for a moment. If your buttermilk is sitting on the counter, put it back in the fridge. If your butter is even slightly soft, throw it in the freezer. We want a massive temperature differential between the dough and the oven air. That 200 degree jump is where the magic happens.
Molecular Component Analysis
To get the best results, we have to be picky. I have tried this with cheap store brand flour and high end organic stuff. The truth is, any all purpose flour works as long as you don't overwork it. However, the fat you choose is non negotiable.
- 375g all purpose flour: This provides enough structure to hold the rise without becoming "bready."
- 115g unsalted butter, frozen: I prefer unsalted so I can control the seasoning exactly.
- Substitute: 115g high-quality lard.
- Why this? Lard has a higher melting point and creates even larger steam pockets.
- 240ml low-fat buttermilk, ice cold: This is the hydration agent.
- Substitute: 240ml whole milk with 1 tablespoon lemon juice.
- Why this? You need the acid to react with the baking soda for that fluff factor.
- 1 tablespoon baking powder: This is the heavy lifter.
- 1/2 teaspoon baking soda: This neutralizes the acid and aids in browning.
- 1 tablespoon coconut sugar: Adds a hint of sweetness and helps with the "Golden Homemade Biscuits" color.
- Substitute: Standard white sugar.
- Why this? Coconut sugar has a lower burn point, helping the crust caramelize faster.
- 1 tablespoon melted butter + 1 teaspoon honey: This is for the "wash" on top.
| Original Ingredient | Substitute | Why It Works |
|---|---|---|
| All Purpose Flour | Pastry Flour | Lower protein content results in an even softer, more delicate biscuit. |
| low-fat Buttermilk | Full fat Greek Yogurt | Similar acidity but adds a thicker, richer mouthfeel to the dough. |
| Coconut Sugar | Maple Syrup | Provides a different depth of flavor. Note: Reduce buttermilk by 1 tsp to balance moisture. |
Using the honey butter wash is a viral hack I picked up from a professional baker. The sugar in the honey caramelizes at high heat, giving you that mahogany finish that looks like it came from a high end bakery. It also provides a slight floral note that cuts through the heavy fat of the butter.
Essential Laboratory Gear
You do not need a lot of fancy tools, but the ones you use should be cold. I often put my mixing bowl and my box grater in the freezer for 10 minutes before I start.
It might seem like overkill, but preventing the butter from softening during the mixing stage is the single biggest "fix" for heavy, flat biscuits.
A bench scraper is your best friend here. It allows you to fold the dough and move it around without the heat of your hands touching it. Our hands are roughly 37°C, which is more than enough to melt those tiny butter shards we worked so hard to grate.
If you don't have a bench scraper, use two cold knives or a very sturdy spatula.
For the cutting phase, use a sharp metal biscuit cutter. Avoid using a glass or a plastic cup. The rounded edges of a glass "seal" the sides of the dough as you press down, which prevents the layers from expanding upward.
A sharp metal edge shears the dough cleanly, leaving the layers exposed and ready to pop in the heat.
Executing the Lamination Protocol
- Whisk the dry base. Combine the 375g flour, baking powder, baking soda, sea salt, and coconut sugar in a chilled bowl. Mix thoroughly so the leaveners are evenly distributed.
- Grate the frozen fat. Take your 115g of frozen butter and grate it directly into the flour using the large holes of a box grater. Note: This creates hundreds of tiny fat "petals" that distribute perfectly.
- Coating the butter. Gently toss the butter shards with a fork. You want every piece of butter to be a "dry" island in the flour.
- Incorporate the cold acid. Pour in the 240ml ice cold buttermilk. Stir with a spatula until it just comes together. Stop until it looks like a shaggy, messy heap. Do not look for a smooth dough.
- The first press. Turn the mess onto a floured surface and pat it into a rough rectangle.
- Perform the letter fold. Fold the dough over itself in thirds, like a piece of mail. Rotate 90 degrees and repeat this 3-4 times. This is the lamination step that builds physical layers.
- Shape and cut. Pat the dough to a 1 inch thickness. Press the 2.5 inch cutter straight down. Do not twist, or you will pin the layers together and ruin the rise.
- The "Kissing" placement. Arrange on parchment so they are barely touching. Brush with the melted butter and honey mixture.
- The over high heat blast. Bake at 218°C for 15 minutes until the tops are deeply golden and the sides have visibly separated.
Chef's Tip: If you find the dough getting sticky while folding, pop the whole board into the fridge for 5 minutes. Cold dough is easy dough.
Debugging Textural Errors
If your biscuits didn't turn out like the pictures, don't panic. Baking is a science experiment, and sometimes the variables get out of whack. The most common issue is "The Lean," where the biscuits tip over like the Tower of Pisa.
This usually happens because the cutter was twisted or the dough was unevenly patted down.
Another common failure is a "hard bottom." This usually happens if you are using a dark metal baking sheet, which absorbs heat too fast. Switch to a light colored aluminum sheet or use a double layer of parchment paper to insulate the base.
| Problem | Root Cause | Solution |
|---|---|---|
| Biscuits are tough | Overworked dough | Mix only until the flour disappears; use fewer folds. |
| No visible layers | Butter was too warm | Freeze butter for 30 mins; grate it last minute. |
| Pale, soft tops | Oven temp too low | Use an oven thermometer to verify 218°C. |
Common Mistakes Checklist
- ✓ Never twist the biscuit cutter; it seals the edges and stops the rise.
- ✓ Ensure the oven is fully preheated for at least 20 minutes before baking.
- ✓ Pat the dough; do not use a rolling pin, which can crush the air pockets.
- ✓ Use fresh baking powder; if it's over 6 months old, it won't provide enough lift.
If your dough feels too wet to handle, it's likely because the buttermilk wasn't cold enough or the kitchen is too humid. You can add a tablespoon of flour at a time, but it is better to just work faster and use more flour on your hands.
Remember, a wet dough actually creates more steam, which can be a good thing if you can manage to get it onto the tray!
Strategic Flavor Variations
While the classic "Golden Homemade Biscuits" are perfect on their own, the base recipe is an amazing canvas for experimentation. If you want to take these in a savory direction, you can't go wrong with adding 100g of sharp cheddar cheese and a teaspoon of garlic powder to the dry mix.
The cheese melts into the layers, creating crispy "skirts" on the bottom of the biscuit.
For a sweet twist, try adding a handful of dried currants or even some lemon zest. If you're feeling adventurous, you can check out my Starbucks Pumpkin Bread Copycat for inspiration on using warm spices like cinnamon and nutmeg in your dough.
- The Savory Hacker: Add 2g cracked black pepper and 50g grated Parmesan.
- The Breakfast Hack: Fold in cooked, crumbled bacon bits during the lamination stage.
- The Dessert Hack: Increase coconut sugar to 3 tablespoons and top with coarse sanding sugar.
If you are scaling this recipe up for a big crowd, like for a 24 person brunch, do not just double the ingredients in one bowl. Work in batches. When you have too much dough in one bowl, you end up over mixing the bottom half while trying to incorporate the top.
Two separate bowls will keep the texture consistent and the butter cold.
Long Term Storage Solutions
Biscuits are at their peak about 5 minutes after they come out of the oven. However, life happens, and sometimes you have leftovers. To store them, wait until they are completely cool to room temperature. Putting warm biscuits in a bag creates condensation, which leads to soggy, sad bread.
For short term storage, an airtight container at room temperature will keep them fresh for about 48 hours. If you need more time, the fridge will keep them for 5 days, but they will dry out. I actually recommend the freezer for any leftovers beyond day two.
To reheat, avoid the microwave at all costs. It turns the butter fat into a rubbery mess. Instead, put them back in a 175°C oven for about 6-8 minutes. This crisps up the exterior while warming the middle.
If you are starting from frozen, wrap them in foil and give them 15 minutes in the oven.
For the zero waste cooks out there, stale biscuits make the world's best croutons. Cut them into cubes, toss with a little olive oil and salt, and bake until crunchy. Or, crumble them up and use them as a cobbler topping for fruit. Nothing goes to waste in a smart kitchen.
Optimized Pairing Strategies
What you serve with your biscuits can change the entire vibe of the meal. In the morning, I love splitting them and topping them with a poached egg and a bit of hollandaise. The layers act as a sponge for the yolk. If you're looking for a full brunch spread, these go incredibly well alongside my Sausage Casserole, where the buttery biscuit cuts through the richness of the eggs and meat.
For a classic Southern dessert experience, try serving them warm with a big scoop of Southern Banana Pudding. The contrast between the salty, flaky biscuit and the silky, sweet custard is a flavor profile that people will be talking about for weeks.
Deciding Your Side
- If you want a classic breakfast, serve with sausage gravy and chives.
- If you want a sweet treat, serve with strawberry jam and clotted cream.
- If you want a sophisticated dinner, serve alongside a roasted chicken with herb butter.
There is a long standing myth that you shouldn't use "bread flour" for biscuits. The truth is, you can, but you have to be even more careful with the mixing. Bread flour has more protein, which means it develops gluten faster. If you use it, reduce your folding count to just 2 folds.
Another myth is that the "first cut" is the only good one. While the first 12 biscuits will be the prettiest, you can absolutely gather the scraps and cut more. They might look a bit more "rustic," but they will taste exactly the same.
Making these Golden Homemade Biscuits is about reclaiming a bit of that kitchen intuition while using modern science to ensure you never fail. Once you see those 12 golden tops peering out from the oven, you'll know exactly what I mean. Now, get that butter in the freezer and let's get baking!

Recipe FAQs
Is it true I should twist the cutter when punching out the biscuits?
No, this is a common misconception. You must press the cutter straight down without twisting; twisting seals the edges of the dough, which prevents the layers from rising properly in the oven.
How to ensure my biscuits get the perfect golden mahogany color?
Brush the tops with a mixture of melted butter and honey before baking. This coating caramelizes at 425°F to create that deep, signature color and a slight sweetness.
Why is it necessary to grate the frozen butter into the flour?
Grating ensures small, uniform shards of fat that stay solid during mixing. If you enjoyed mastering this technique for achieving flaky texture, see how similar fat-manipulation principles create the perfect crust in our Tater Tot Casserole.
How to handle the dough if it feels too wet and sticky?
Work faster and use extra flour on your hands and surface. Adding too much additional flour can make the finished biscuit dense, so focus on speed to keep the buttermilk and butter as cold as possible.
How to achieve flaky, distinct layers in my biscuits?
Use a bench scraper to perform a letter fold on the dough 3-4 times. This lamination process creates internal layers that expand during the 15-minute bake time at 425°F.
Can I use a rolling pin to flatten the biscuit dough?
No, avoid using a rolling pin at all costs. A rolling pin crushes the delicate air pockets you’ve worked to create; instead, use your hands to gently pat the dough to a 1 inch thickness.
How to tell if the biscuits are fully baked?
Look for a deep mahogany golden brown color on the tops. The biscuits require exactly 15 minutes at 425°F, provided your oven was preheated for at least 20 minutes prior to baking.
Golden Homemade Biscuits
Ingredients:
Instructions:
Nutrition Facts:
| Calories | 205 kcal |
|---|---|
| Protein | 3.9 g |
| Fat | 9.1 g |
| Carbs | 26.3 g |
| Fiber | 0.9 g |
| Sugar | 2.8 g |
| Sodium | 244 mg |
