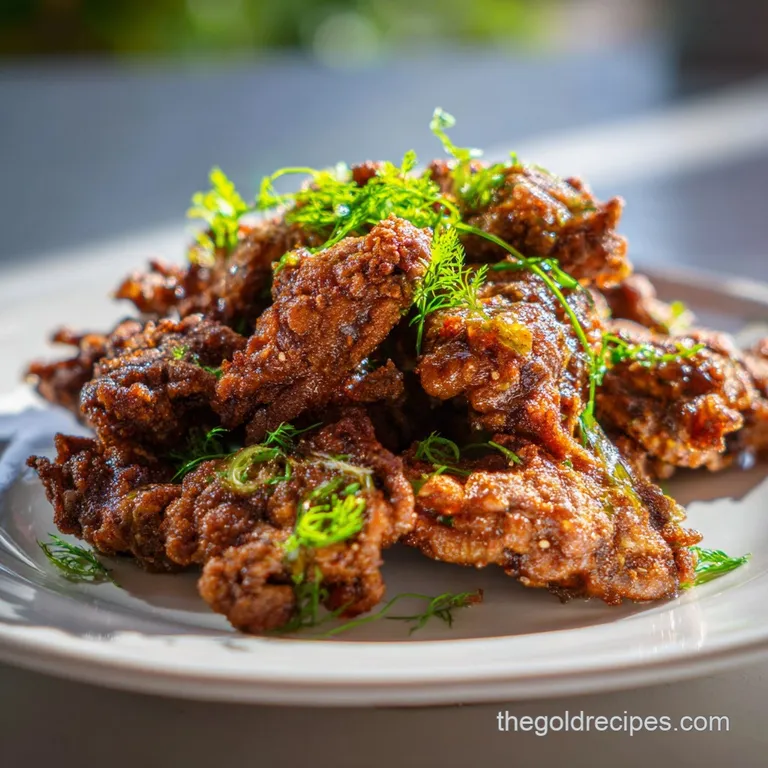
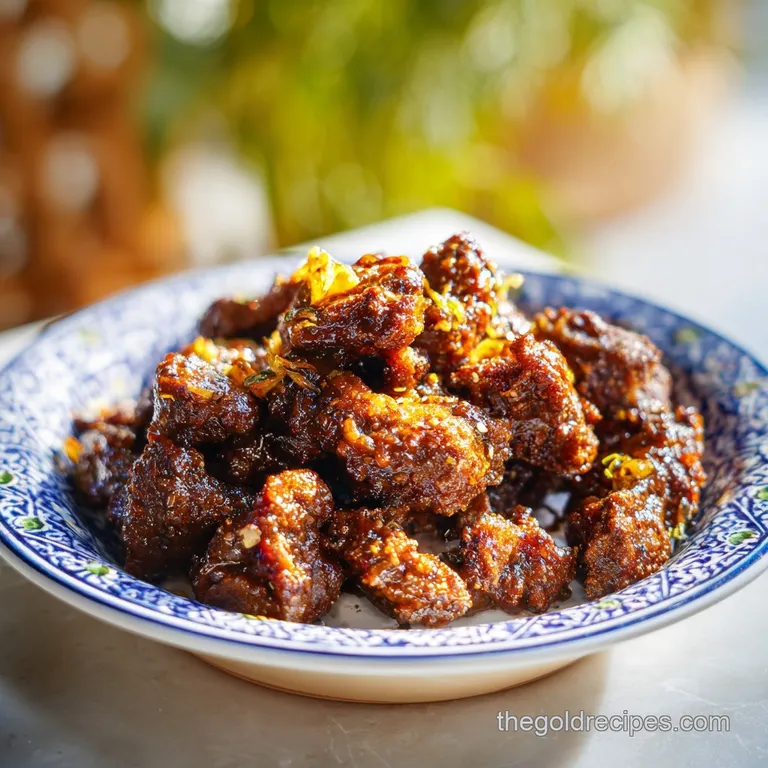
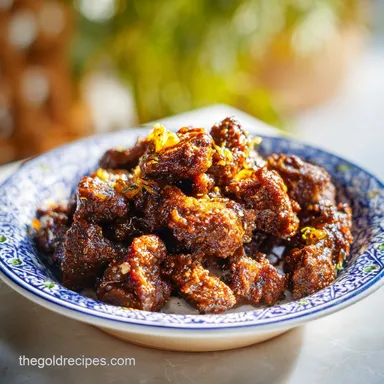
Fried Chicken Livers Recipe Crispy
- Time: Active 15 minutes, Passive 38 minutes, Total 53 minutes
- Flavor/Texture Hook: Shatter crisp exterior with a velvety, rich center
- Perfect for: Budget-friendly family dinners or a hearty weekend appetizer
- Quick Guide to Timing and Temperature for Results
- Gathering Hearty Ingredients for the Perfect Golden Crunch
- Minimal Tools Required for This Southern Family Favorite
- The Step-by-Step Method for Shatter Crisp Golden Livers
- Troubleshooting Your Fry for a Velvety Middle Consistency
- How to Adjust for Smaller or Larger Families
- Creative Variations to Please Every Palate at Table
- Debunking Kitchen Tales About Liver
- Keeping Your Leftovers Crispy and Safe for Later
- Hearty Side Dish Pairings for a Complete Family Meal
- High in Sodium
- Recipe FAQs
- 📝 Recipe Card
Quick Guide to Timing and Temperature for Results
Getting the timing right is the difference between a tender morsel and something that feels like a rubber eraser. Livers cook incredibly fast, so you really can't walk away from the stove. I always keep my kitchen timer handy because thirty seconds can be the "make or break" moment for the texture.
| Thickness | Internal Temp | Rest Time | Visual Cue |
|---|---|---|---|
| 1/2 inch | 165°F | 3 minutes | Golden brown and firm |
| 3/4 inch | 165°F | 4 minutes | Deep amber, no red juices |
| 1 inch | 165°F | 5 minutes | Crackling crust, opaque center |
Whenever I'm feeding a crowd, I tend to stick to the smaller pieces first since they fry up in a flash. If you have some pieces that are significantly larger than others, I highly recommend giving them a quick snip with kitchen shears so everything finishes at the same time.
It saves you from having half a plate of cold food while you wait for the "big ones" to finish.
Gathering Hearty Ingredients for the Perfect Golden Crunch
I’m a big believer in using what you have, but there are a few things here that really shouldn't be skipped if you want that specific Southern style finish. The cornstarch, for instance, is my secret weapon for that high definition crunch that flour alone just can't provide.
The Magic of the Crust
Moisture Management: The cornstarch prevents the flour from becoming doughy, creating a brittle lattice that shatters when bitten. This ensures the coating stays light and airy rather than heavy and greasy.
Component Analysis
| Ingredient | Science Role | Pro Secret |
|---|---|---|
| Buttermilk | Acidic Tenderizer | Neutralizes metallic "iron" flavors |
| Cornstarch | Texture Modifier | Creates a "shatter" effect in the crust |
| Peanut Oil | High Heat Fat | High smoke point prevents acrid burning |
Soaking the livers is the step most people want to skip when they're in a hurry, but trust me, don't do it. That soak in the buttermilk does all the heavy lifting for the flavor. It draws out the excess minerals that give livers a bad reputation for being "bitter."
Ingredients & Substitutes
- 1 lb fresh chicken livers: Trimmed of connective tissue. Why this? Fresh is best for a creamy, non grainy texture.
- Substitute: Calf livers (sliced thin), though the flavor is more intense.
- 1 cup full fat buttermilk: The base of our brine.
- Substitute: 1 cup whole milk + 1 tbsp lemon juice.
- 1 tsp vinegar based hot sauce: Adds a subtle tang and heat.
- Substitute: 1/2 tsp cayenne pepper mixed into the liquid.
- 1 cup all purpose flour: Provides the bulk of the breading.
- Substitute: Rice flour for a lighter, gluten-free-ish crunch.
- 1/2 cup cornstarch: The secret to the "shatter."
- Substitute: Potato starch or arrowroot powder.
- 1 tbsp garlic powder: Savory depth.
- Substitute: Onion powder for a sweeter profile.
- 1 tbsp smoked paprika: For color and a hint of wood smoke flavor.
- Substitute: Regular paprika (for color only, less flavor).
- 1 tsp cayenne pepper: Just enough kick to balance the richness.
- Substitute: Red pepper flakes (crushed fine).
- 2 tsp kosher salt: Essential for drawing out flavor.
- 1 tsp cracked black pepper: For a bite of heat.
- 2 cups peanut oil: For frying. Why this? Its high smoke point allows for a clean, crispy fry.
- Substitute: Vegetable oil or lard (classic Southern choice).
Minimal Tools Required for This Southern Family Favorite
You don't need a fancy deep fryer to make this happen. In fact, I prefer using my heavy cast iron skillet. It holds onto the heat so much better than stainless steel, which means when you drop the cold livers in, the oil temperature doesn't plummet.
If the oil stays hot, the food stays crispy; if the oil cools down, the livers soak it up like a sponge.
- Cast iron skillet: For even heat distribution and retention.
- Wire cooling rack: To prevent the bottom of the livers from getting soggy.
- Kitchen shears: For easy trimming of the livers.
- Tongs: To flip the pieces without piercing the crust.
- Instant read thermometer: To ensure the oil hits 350°F exactly.
The step-by-step Method for Shatter Crisp Golden Livers
Before we start, make sure your livers are as dry as possible before they hit the buttermilk. I usually lay them out on paper towels and pat them down. Any extra water on the surface will just dilute our soak and make the breading slide right off later.
Phase 1: The Mineral Cleanse
- Trim the livers. Use your shears to remove any green spots or tough white connective tissue. Note: This ensures every bite is tender.
- Soak in buttermilk. Combine the 1 cup buttermilk and 1 tsp hot sauce in a bowl, add the 1 lb chicken livers, and let sit for 30 minutes in the fridge.
Phase 2: The Double Strength Coating
- Mix the dry base. In a shallow dish, whisk together 1 cup flour, 1/2 cup cornstarch, and all the spices (garlic powder, paprika, cayenne, salt, pepper).
- Dredge the livers. Take a liver from the buttermilk, let the excess drip off, and coat it thoroughly in the flour mixture.
- Let them rest. This is my biggest trick! Place the coated livers on a plate for 10 minutes before frying. Note: This allows the flour to "hydrate" so it sticks to the meat like glue.
Phase 3: The Precision Fry
- Heat the oil. Pour 2 cups peanut oil into your skillet and heat to 350°F. Wait until it shimmers and a pinch of flour sizzles instantly.
- Fry in batches. Carefully add the livers to the oil. Do not overcrowd the pan.
- Flip carefully. Cook for 3 to 4 minutes per side until deep golden and crackling.
Phase 4: The Aerated Finish
- Drain on a rack. Move the livers to a wire rack, not paper towels. Note: Air needs to circulate to keep the bottom crispy.
- Check for doneness. Ensure the internal temperature has reached 165°F.
Troubleshooting Your Fry for a Velvety Middle Consistency
If things start going south, don't panic. Cooking livers is a bit of an art form because they behave differently than chicken breasts or thighs. If you've ever dealt with "exploding" oil, you know exactly what I mean. It usually happens because of trapped steam inside the liver or the coating.
The Livers are "Exploding" in the Oil
This usually happens because of a pocket of moisture or air. To prevent this, I always give my livers a tiny prick with a fork before dredging. This gives the steam an "escape hatch" so it doesn't build up pressure and blow the coating off.
Also, make sure your oil isn't too hot; 350°F is the sweet spot.
The Coating is Falling Off
This is the most common heartbreak. It usually happens for two reasons: the livers were too wet when they went into the flour, or you flipped them too early. Let that crust set! Don't touch them for at least 3 minutes once they hit the oil.
| Problem | Root Cause | Solution |
|---|---|---|
| Soggy Coating | Crowded pan | Fry in smaller batches to keep oil hot |
| Metallic Taste | Skipped the soak | Soak in buttermilk for at least 30 minutes |
| Tough Texture | Overcooked | Use a thermometer; pull at 165°F |
Similar to the technique used in our Chicken Livers With recipe, patience during the browning phase is everything. If you rush the flip, the breading stays on the bottom of the pan instead of on the liver.
Common Mistakes Checklist
- ✓ Forgot to pat the livers dry before the buttermilk soak.
- ✓ Didn't allow the dredged livers to rest for 10 minutes (the "glue" phase).
- ✓ Used a fork to flip them, which pierces the crust and lets juices out.
- ✓ Placed finished livers on paper towels instead of a wire rack.
- ✓ Started frying before the oil reached 350°F.
How to Adjust for Smaller or Larger Families
Feeding two people instead of four? Or maybe you're hosting the whole neighborhood? Adjusting this recipe is pretty straightforward, but you have to be careful with the spices.
Scaling Down (1/2 lb Livers) Use a smaller skillet to save on oil. Reduce the flour and cornstarch by half, but keep the spices at about 60% of the original amount to ensure the flavor stays bold.
Reduce cook time by about 30 seconds per side as smaller batches tend to cook faster in a stable oil temp.
Scaling Up (2+ lbs Livers) Do not double the salt immediately; go to 1.5x first and taste. You must work in batches. If you try to do too many at once, the oil temp will drop, and you'll end up with greasy, soggy livers.
Keep the finished batches in a 200°F (90°C) oven on a wire rack to stay warm while you finish the rest.
| Fresh Livers | Flour/Cornstarch | Batch Count | Total Oil Time |
|---|---|---|---|
| 1 lb | 1.5 cups total | 2 batches | 8 minutes |
| 2 lbs | 2.5 cups total | 4 batches | 16 minutes |
| 3 lbs | 3.5 cups total | 6 batches | 24 minutes |
Creative Variations to Please Every Palate at Table
While the classic Southern version is hard to beat, sometimes I like to switch things up based on what I have in the pantry. For example, if you're a fan of heat, you can turn these into "Nashville Hot" livers by whisking a tablespoon of the hot frying oil with some extra cayenne and brown sugar, then brushing it over the crispy crust.
The Healthier Air Fryer Alternative
I know, I know it's not "true" frying, but you can get a decent result. Lightly spritz the dredged livers with oil spray and cook at 400°F (200°C) for about 10 to 12 minutes, flipping halfway.
It won't have that same heavy duty crunch, but it's a great weekday shortcut.
The gluten-free Swap
Swap the all purpose flour for a 1:1 gluten-free baking blend or even just use all cornstarch. If you use all cornstarch, the coating will be much thinner but incredibly crispy, almost like a tempura style.
Debunking Kitchen Tales About Liver
One of the biggest myths is that you have to cook livers until they are gray all the way through to be safe. Actually, like a good steak, a slightly blush center is often where the best texture lives, as long as it hits that 165°F safety mark.
Another tall tale is that livers are naturally "bitter." They aren't! The bitterness usually comes from the bile or the connective tissue. If you take the two minutes to trim them properly and give them that buttermilk bath, they are actually quite sweet and savory.
Keeping Your Leftovers Crispy and Safe for Later
I’ll be honest: fried food is always best right out of the pan. But if you have leftovers, don't just toss them! You can give them a second life if you store them correctly.
- Storage: Keep in an airtight container in the fridge for up to 3 days.
- Reheating: Avoid the microwave! It will turn the coating into a soggy mess. Instead, put them back in a 350°F (180°C) oven or toaster oven for about 5 minutes until the oil in the crust starts to sizzle again.
- Freezing: You can freeze these for up to 2 months. To reheat from frozen, go straight into a 400°F (200°C) oven for 10 to 12 minutes.
- Zero Waste: If the coating just won't get crispy again, chop up the leftovers and stir them into a hearty gravy to serve over biscuits or rice.
Hearty Side Dish Pairings for a Complete Family Meal
In my house, we usually serve these with a big scoop of mashed potatoes and some white pepper gravy. The creaminess of the potatoes is the perfect partner for the crunch of the livers. If you want something a bit lighter to cut through the richness, a vinegary coleslaw or some Crispy Parmesan Roasted recipe potatoes work beautifully.
If you're looking for more comfort food ideas, this dish pairs perfectly with a side of sautéed green beans or even a spicy corn maque choux. The goal is to have something bright or acidic on the plate to balance out the deep, savory flavor of the fried livers.
Whatever you choose, just make sure there’s plenty of it these tend to disappear off the serving platter faster than you can fry the next batch!

High in Sodium
985 mg mg of sodium per serving (43% % of daily value)
The American Heart Association recommends limiting sodium intake to about 2,300mg per day.
Tips to Reduce Sodium in Fried Chicken Livers
-
Reduce Added Salt-25%
The recipe calls for 2 tsp of kosher salt. Reduce this amount by half, or even eliminate it entirely and adjust to taste. This can significantly lower the sodium content. Start with 1 tsp and adjust to taste after frying.
-
DIY Hot Sauce-15%
Many store-bought hot sauces contain high levels of sodium. Consider making your own using fresh peppers, vinegar, and spices to control the sodium content. Omit the salt in your DIY hot sauce.
-
Low Sodium Buttermilk-10%
Although buttermilk itself has some sodium, look for a lower sodium option or make your own by adding lemon juice or vinegar to regular milk. Use 1 tablespoon of lemon juice per cup of milk.
-
Flavor with Herbs & Spices
Enhance the flavor of the chicken livers with a variety of sodium free herbs and spices. Experiment with different combinations to create delicious and flavorful meals without relying on salt. Consider adding onion powder, dried thyme, or oregano.
Recipe FAQs
What is the best way to fry chicken livers?
Use a high heat oil like peanut oil, maintaining 350°F. Soak the livers in buttermilk for 30 minutes first to tenderize, then use a flour mixture incorporating cornstarch for maximum crunch, frying in small batches.
Do you coat liver in flour before frying?
Yes, a dual component coating is essential for crispiness. Combine all-purpose flour with cornstarch and seasonings, ensuring the livers rest in this coating for 10 minutes before they enter the hot oil.
Why do you soak liver in milk before cooking it?
Soaking in buttermilk neutralizes the metallic, sometimes bitter, mineral taste. The acidity of the buttermilk acts as a tenderizer, resulting in a much smoother, milder interior texture.
Do you rinse chicken livers before frying?
No, do not rinse livers with water before the buttermilk soak. You should trim them of any connective tissue and immediately submerge them in the buttermilk bath; water dilutes the soak.
What internal temperature must fried chicken livers reach?
Pull them from the oil immediately when they hit 165°F internally. Because they are small, they cook very fast, and cooking them past 170°F will result in a tough, rubbery texture.
How do I prevent the crispy coating from falling off during the fry?
Allow the dredged livers to rest for 10 minutes before frying. This crucial resting period allows the flour mixture to hydrate and adhere securely to the moist liver surface, creating a solid crust.
Can I air fry the livers instead of deep frying them?
Yes, you can air fry them, but the texture will differ. Cook at 400°F for 10 to 12 minutes, flipping halfway through, and lightly spray the coated livers with oil beforehand for the best results, similar to how you might crisp vegetables in an air fryer.
Crispy Fried Chicken Livers
Ingredients:
Instructions:
Nutrition Facts:
| Calories | 378 kcal |
|---|---|
| Protein | 21.2 g |
| Fat | 21.5 g |
| Carbs | 23.4 g |
| Fiber | 1.2 g |
| Sugar | 1.4 g |
| Sodium | 985 mg |
